Gama Sonic GS-148 Instruction Manual - Page 3
Browse online or download pdf Instruction Manual for Outdoor Light Gama Sonic GS-148. Gama Sonic GS-148 4 pages. Solar garden light shepherd hook with gs solar led light bulb
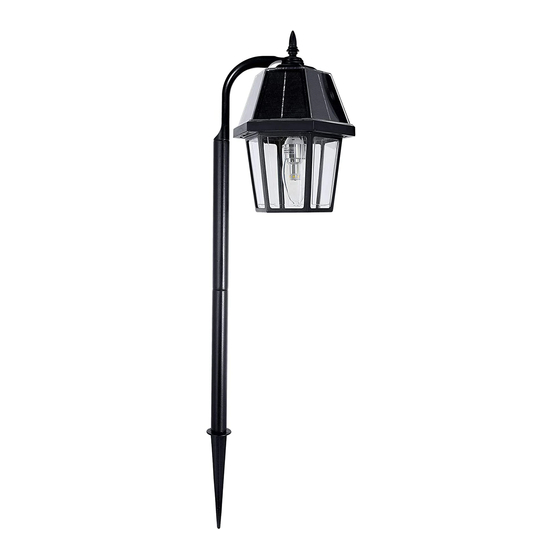
2. Assembly instructions:
1.
Remove the lower part of the fixture by
twisting counter clockwise.
2.
Install the GS Solar LED Bulb by following
the instructions in the "Solar LED Light
Bulb Install" section below.
3.
Turn the lamp on by selecting either Low
or High on the switch.
4.
Re-install the lower part of the fixture by
twisting clockwise.
5.
Slide Part B over the threaded top part of
Part C and secure by tightening the finial (Part A).
6.
Screw Part B to Part D
7.
Assemble the two Part D sections using
Part E between them.
8.
Secure the lower Part D to Part F
by screwing them together.
9.
Insert the completed lamp assembly into the
ground in your desired location. Make sure
the stake is fully inserted into the ground.
NOTE: If you are having trouble inserting the stake into the
ground, try moistening the ground with water.
Solar LED Light Bulb Install
The GS Solar LED Bulb is designed to last up to 10
years, however if it doesn't work, or if you want to
use different color temperature bulb, it can be easily
replaced.
1. Detach the top of the lamp unit from the lower
part of Part B by twisting counter clockwise. Make
sure the Low/OFF/High switch is in the OFF (O)
position.
2. Install the new GS Solar LED Bulb by turning into
the bulb socket clockwise. Make sure to hold the
bulb by the base and not by the glass.
3. Reassemble the unit by reversing the above
procedure
page 3
3. Operation Instructions
1.
Remove the top section of the Fixture (B)
by twisting the bottom counter clockwise.
2.
Turn the operation switch to Low or High position
according your preferences:
2.1.
(I) For softer light and longer duration.
2.2.
(II) For brighter light output.
3.
The solar lamp will automatically operate at dusk.
4.
Reattach the top portion to the lower portion
of Part B and secure it by twisting clockwise.
4. Battery
Read the next section carefully. Here you will learn
how to add a secondary battery (optional), and how to
replace your existing battery once it exceeds its life span.
Our GS-148 model features two (2) battery
compartments. This light comes with one (1) pre-
installed battery (included), and you have the OPTION to
add a second battery. This is a unique feature designed
to give you more choices to prolong the duration of your
solar light.
This unit requires direct sunlight exposure for more than
4 hours a day. Shorter exposure will NOT charge the
second battery and therefore it is not necessary.
Battery
Compartment 1
HIGH
LOW
OFF
Battery
Compartment 2