Gama Sonic Inversee 118B50033 Instruction Manual - Page 3
Browse online or download pdf Instruction Manual for Outdoor Light Gama Sonic Inversee 118B50033. Gama Sonic Inversee 118B50033 4 pages. Bulb solar light wall/pier/3" fitter mount, 3" fitter mount, wall/pier mount
Assembly Instructions
3" Fitter Mount
Note: If you are replacing an existing gas
electric post light, you must consult a
certified technician to disconnect them
before installation.
•
Attach the fixture (A) to the 3" Fitter
mount (B) with the provided screw.
•
Slide mount over your existing pole and
secure using the 3 set screws.
Note: Be sure to not overtighten the set
screws.
Pier Mount
Note: There are specific types of screws
for specific surfaces. If you're unsure of
the appropriate type of screw to use on
your desired surface, please consult a
professional.
•
Attach the fixture (A) to the pier mount (C)
with the provided screw.
•
Use a drill to make two holes in the desired
surface. (use the pier mount as a template
for drilling locations)
•
Place the anchors into the holes and place
the lamp in line with the holes.
•
Secure it with the provided screws.
Wall Mount
Note: Installing the light on a wall may
limit the solar panel for sun exposure.
Make sure the lamp is mounted so direct
sun exposure is available.
•
Attach the fixture (A) to the wall bracket
(D) with the provided screw
Note: The wall mount has two different
size holes on the arm, make sure the
fixture is attached to the side with the
smaller hole. The screw will go through
the larger hole on the bottom so it will be
hidden after installation.
•
Use a drill to make two holes in the wall
where the lamp will be mounted. (use
the wall mount as a template for drilling
locations)
•
Place the anchors into the holes and place
the lamp in line with the holes.
•
Secure using the provided screws.
page 3
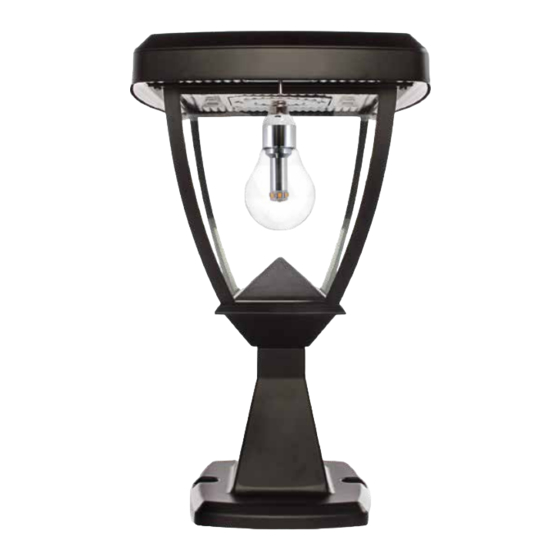
Operation Instructions
•
Remove the top of the lamp from the
fixture by removing the four screws under
the top.
•
Install the GS Solar LED Bulb in the top.
•
Re attach the top to the fixture and secure
with the four screws.
•
Turn the switch on the lamp head to HIGH
or LOW position.
Replacement Parts
Replacement Batteries and Bulbs are
available at www.gamasonic.com or via our
Toll Free number: +1-800-835-4113.
Your Lamp can use the following bulbs:
A50WW10W – included bulb with Warm
White LEDs (2700K)
A50BW10W – bulb with Bright White LEDs
(6000K)
F30WW05W – Flame bulb with simulated
flame LEDs
T45WW10W – Edison LED Bulb with Warm
White LEDs (2700k)
Your Lamp uses the following battery:
GS32V15
LOW = Softer light and
longer duration
HIGH = Brighter light
output
The solar lamp will
automatically operate
at dusk.