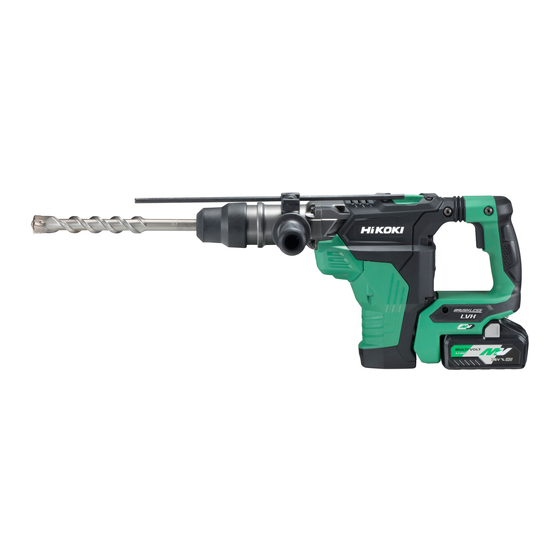
HIKOKI DH 36DMA Handling Instructions Manual - Page 13
Browse online or download pdf Handling Instructions Manual for Power Tool HIKOKI DH 36DMA. HIKOKI DH 36DMA 20 pages.

ABOUT THE PROTECTION
FUNCTIONS
This product features functions that are designed to protect
the tool itself as well as the battery. While the switch is
pulled, if any of the safeguard functions are triggered
during operation, the display lamp will blink as described in
Table 3. When any of the safeguard functions are triggered,
immediately remove your fi nger from the switch and follow
the instructions described under corrective action.
Display
lamp
Cause
fl ashing
Internal temperature
has risen beyond
Flash
the unit's specifi ed
temperature.
(Temperature
increase protection
function)
Excessive pressure
Flash
applied to the tool
has resulted in an
overload.
(Overload
protection function)
Flash
Sensor signal read
error.
(Control monitoring
function)
REACTIVE FORCE CONTROL
This product is equipped with a Reactive Force Control
(RFC) feature that reduces jerking of the tool body.
If the tool bit is suddenly overburdened, any jerking of the
tool body is reduced by activation of the slip clutch or by
stopping of the motor by the sensor built into the tool body.
If the motor is stopped because of overburdening detection
by the controller, the RFC indicator lamp will blink while the
switch is pulled. In addition, the lamp will continue blinking
for approximately three seconds after the switch is released.
The motor will remain stopped while the lamp is blinking.
(Fig. 21)
Because the RFC feature may not activate or its performance
may be insuffi cient depending on the working environment
and conditions, be careful not to suddenly overburden the
tool bit while operating.
● Possible causes of sudden overburdening
1 Tool bit biting into material
2 Impact against nails, metal or other hard objects
3 Tasks involving prying or any excess application of
pressure, etc.
Also, other causes include any combination of the
aforementioned.
● When the reactive force control (RFC) is triggered
When the RFC is triggered and the motor stops, turn
off the tool's switch and remove the cause of the
overburdening before continuing operation.
Table 3
Solution
Turn off the unit and
allow it to cool down
for about 15 minutes.
When the temperature
goes down, the unit is
ready for use.
Remove the cause of
the overburdening.
Repair may be
required.
GREASE REPLACEMENT
This Rotary Hammer is of full air-tight construction to protect
against dust and to prevent lubricant leakage.
Therefore, this Rotary Hammer can be used without
lubrication for long periods. Replace the grease as described
below.
Grease Replacement Period
After purchase, replace grease after every 6 months of
usage. Ask for grease replacement at the nearest authorized
Service Center.
MAINTENANCE AND INSPECTION
CAUTION
Be sure to turned off the switch and remove the battery
before maintenance and inspection.
1. Inspecting the tool
Since use of as dull tool will degrade effi ciency and
cause possible motor malfunction, sharpen or replace
the tool as soon as abrasion is noted.
2. Inspecting the mounting screws
Regularly inspect all mounting screws and ensure that
they are properly tightened. Should any of the screws be
loose, retighten them immediately. Failure to do so could
result in serious hazard.
3. Maintenance of the motor
The motor unit winding is the very "heart" of the power
tool. Exercise due care to ensure the winding does not
become damaged and/or wet with oil or water.
4. Inspection of terminals (tool and battery)
Check to make sure that swarf and dust have not
collected on the terminals.
On occasion check prior, during and after operation.
CAUTION
Remove any swarf or dust which may have collected on
the terminals.
Failure to do so may result in malfunction.
5. Cleaning on the outside
When the power tool is stained, wipe with a soft dry cloth
or a cloth moistened with soapy water. Do not use chloric
solvents, gasoline or paint thinner, for they melt plastics.
6. Cleaning of the battery installation compartment
After drilling concrete, if concrete dust has accumulated
on the terminals or the area where the battery slides
within the battery installation compartment, clean off the
accumulated concrete dust with a dry cloth before using
the tool. (Fig. 17)
Also, after cleaning, ensure that the battery can be
installed and removed smoothly from the tool.
13
Fig. 21
