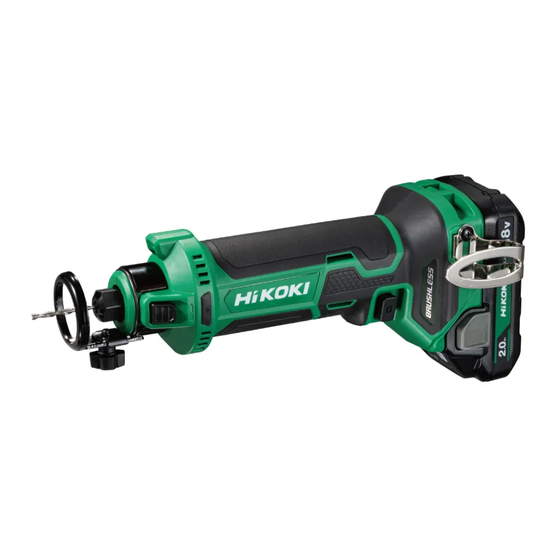
HIKOKI M 18DYA Handling Instructions Manual - Page 11
Browse online or download pdf Handling Instructions Manual for Power Tool HIKOKI M 18DYA. HIKOKI M 18DYA 16 pages.

Regarding electric discharge in case of new batteries,
etc.
As the internal chemical substance of new batteries and
batteries that have not been used for an extended period
is not activated, the electric discharge might be low when
using them the fi rst and second time. This is a temporary
phenomenon, and normal time required for recharging
will be restored by recharging the batteries 2-3 times.
How to make the batteries perform longer.
(1) Recharge the batteries before they become completely
exhausted.
When you feel that the power of the tool becomes
weaker, stop using the tool and recharge its battery. If
you continue to use the tool and exhaust the electric
current, the battery may be damaged and its life will
become shorter.
(2) Avoid recharging at high temperatures.
A rechargeable battery will be hot immediately after
use. If such a battery is recharged immediately after
use, its internal chemical substance will deteriorate, and
the battery life will be shortened. Leave the battery and
recharge it after it has cooled for a while.
CAUTION
○ If the battery is charged while it is heated because it has
been left for a long time in a location subject to direct
sunlight or because the battery has just been used,
the pilot lamp of the charger lights up green or lights
for 1 second, does not light for 0.5 seconds (off for
0.5 seconds). In such a case, fi rst let the battery cool,
then start charging.
○ When the pilot lamp fl ickers in red (at 0.2-seconds
intervals), check for and take out any foreign objects in
the charger's battery connector. If there are no foreign
objects, it is probable that the battery or charger is
malfunctioning. Take it to your authorized Service
Center.
MOUNTING AND OPERATION
Action
Removing and inserting the battery
Mounting the hook
1
3
How to use the LED light
4
Remaining battery indicator
Selecting accessories
*1 Installing the bit
Exchanging the collet
NOTE
○ Ensure that the lock button returns when you release it.
○ If you tighten the collet without attaching a bit, the collet
may become deformed. When you do not install a bit,
tighten the collet nut only lightly.
Figure
3
4
5
6
7
1
8
2
9
10
11
12
-
*2 Adjusting the depth of cut
NOTE
○ The depth guide (dust adapter) should be adjusted
before each cut.
○ Adjust the tip of the bit so that it protrudes at least 3 mm
from the material for a clean fi nish.
○ Ensure that there is enough space under the material so
that the bit does not make contact.
*3 Switch operation
WARNING
Ensure that the switch is in the OFF position before
installing the battery.
Pressing the ON side ("I") of the switch activates it, and
pressing the OFF side ("0") stops it. When the switch is
in the center position, it is in the "OFF" state. (Fig. 9)
*4 Cutting operation
○ Make sure the bit is not contacting the workpiece before
the switch is turned on.
○ Before using the tool on an actual workpiece, let it run
for a while. Watch for vibration or wobbling that could
indicate improperly installed bit.
○ Be careful of the bit rotating direction and the feed
direction.
LED LIGHT WARNING SIGNALS
This product features functions that are designed to protect
the tool itself as well as the battery. When any of the
safeguard functions are triggered, any of the LED light will
blink as described in Table 3.
In this case, follow the instructions described under
corrective action.
Safeguard
Function
Overload
Protection
Page
Temperature
Protection
2
3
3
MAINTENANCE AND INSPECTION
3
WARNING
4
Be sure to turned off the switch and remove the battery
before maintenance and inspection.
4
1. Inspecting the bit
Continued use of a dull or damaged bit will result in
4
reduced cutting effi ciency and may cause overloading
4
of the motor. Replace the bit with a new one as soon as
excessive abrasion is noted.
4
2. Inspecting the mounting screws
Regularly inspect all mounting screws and ensure that
5
they are properly tightened. Should any of the screws be
14
loose, retighten them immediately. Failure to do so could
result in serious hazard.
3. Maintenance of the motor
The motor unit winding is the very "heart" of the power
tool.
Exercise due care to ensure the winding does not
become damaged and/or wet with oil or water.
11
Table 3
LED Light Display
Corrective Action
On 0.1 second/
Remove the cause
off 0.1 second
of the overloading.
On 0.5 second/
Allow the tool
off 0.5 second
and battery to
thoroughly cool.
English
