Cordex UT5000 Quick Start Manual
Browse online or download pdf Quick Start Manual for Test Equipment Cordex UT5000. Cordex UT5000 3 pages. Intrinsically safe ultrasonic thickness gauge
Also for Cordex UT5000: User Manual (13 pages), User Manual (12 pages), Instructions For Safe Operation (7 pages), Instructions For Safe Operations (8 pages)
UT5000 – Quick Start Guide
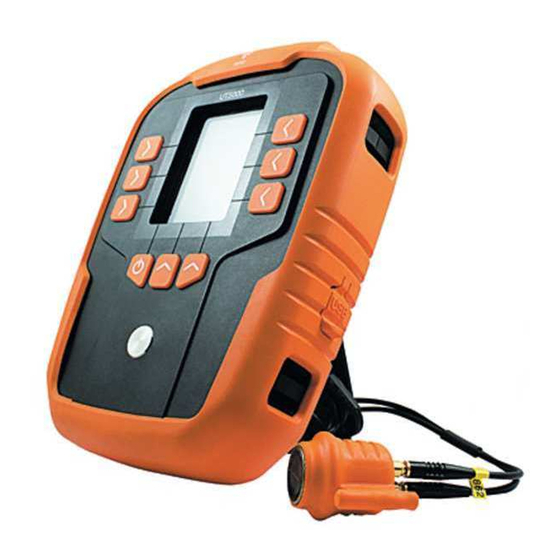
Check hard carrying case contents include UT5000, probe, information CD,
calibration block, couplant gel, wrist straps, RFID tags, USB communication cable.
Ensure a fresh battery is fitted with correct polarity – WARNING – incorrect polarity
will damage your UT5000 requiring back to factory repair not covered by warranty.
Connect the probe lead to UT5000 and ensure connectors are fully pushed home.
Power on UT5000 by pressing and holding power switch for at least 5 seconds.
Power off UT5000 by pressing and holding power switch for at least 5 seconds.
To calibrate UT5000 after attaching the probe:
1. Calibration must be performed every time the probe is detached/attached.
2. Ensure your probe lead is connected to your UT5000.
3. Power on your UT5000.
4. Press the setup key [SETUP]
5. Highlight 'transducer setup' from the list using arrow
keys, then press select key [SEL]
6. Highlight 'probe zero/cal double' from the list using arrow
keys, then press select key [SEL]
7. Apply couplant gel to calibration step wedge on
lowest and highest steps.
8. Measure first step and then enter known step thickness.
9. Repeat the measurement process for the opposite end of
the calibration step wedge.
10. Once this process is complete, your device has been two point calibrated.
To take a simple thickness measurement:
1. Press velocity key [VEL]
2. Using arrow keys select required material velocity from the
pre-loaded list [SEL]
3. Press Frequency key [FREQ]
4. Highlight 'single shot' from list using arrow keys, then press select key [SEL].
5. Apply couplant gel to material surface.
6. Place probe against material surface.
7. Press measure [MEAS]
8. To save measurement for later use press save key [SAVE]
+ 4 4 ( 0 ) 1 6 4 2 4 5 4 3 7 3
w w w . c o r d e x i n s t r u m e n t s . c o m
Ref.ID 5002, Rev.A
s a l e s @ c o r d - e x . c o m