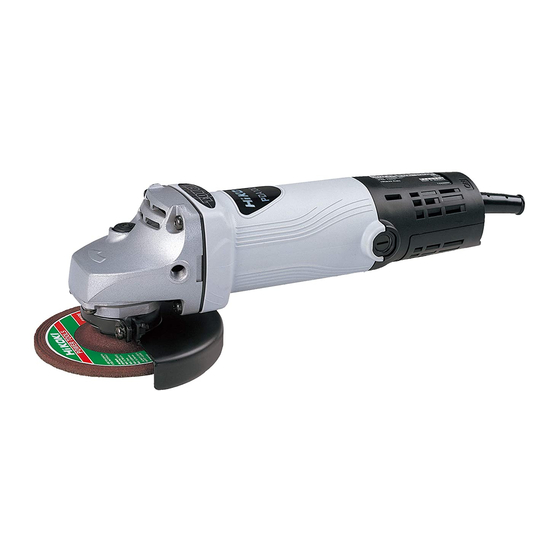
HIKOKI PDA-125M Handling Instructions Manual - Page 6
Browse online or download pdf Handling Instructions Manual for Grinder HIKOKI PDA-125M. HIKOKI PDA-125M 9 pages.

5. RCD
The use of a residual current device with a rated residual
current of 30 mA or less at all times is recommended.
SPECIFICATIONS
Model
Power Source
Power Input
No-load speed
Wheel size
external dia.
thickness
hole dia.
Weight
*1
Weight: According to EPTA-Procedure 01/2003
*1
STANDARD ACCESSORIES
(1) Wrench .........................................................................1
(2) Side handle ...................................................................1
Standard accessories are subject to change without notice.
OPTIONAL ACCESSORIES . . . . sold separately
CAUTION
Always operate the grinder with the wheel guard attached.
1. 125 mm Sanding Disc Set
Sanding Disc
Washer Nut
In case when only a relatively small metal surface area is
to be polished and it is desired to give it a particularly fi ne
fi nish, this is used for preliminary polishing of the metal
surface before applying point, for removing rust, and for
removing point when a new test is to be applied.
There are eleven diff erent kinds of sanding discs, having
grains of #16, #20, #24, #30, #36, #40, #50, #60, #80,
#100, #120. When placing your order, please specify the
grain of the disc desired.
2. Diamond Wheel Set
This is used for cutting and scribing of concrete, stone,
tile etc.
Diamond Wheel
Segment
Type
Optional accessories are subject to change without notice.
6
Rubber Pad
Guard with Base Foot
PDA-125M
230 V
715 W
10 000 /min
Max. Peripheral Speed: 80 m/s (4 800 m/min)
125 mm
6 mm
22.23 mm
2.1 kg
APPLICATIONS
○ Removal of casting fi n and fi nishing of various types of
steel, bronze and aluminum materials and castings.
○ Grinding of welded sections or sections cut by means of
a cutting torch.
○ Grinding of brick, marble, etc.
○ Cutting and scribing of concrete, stone, tile, (use the
diamond wheel)
PRIOR TO OPERATION
1. Power source
Ensure that the power source to be utilized conforms
to the power requirements specifi ed on the product
nameplate.
2. Power switch
Ensure that the power switch is in the OFF position. If
the plug is connected to a receptacle while the power
switch is in the ON position, the power tool will start
operating immediately, which could cause a serious
accident.
3. Extension cord
When the work area is removed from the power source,
use an extension cord of suffi cient thickness and rated
capacity. The extension cord should be kept as short as
practicable.
4. Confi rming condition of the environment
Confi rm that the work site is placed under appropriate
conditions conforming to prescribed precautions.
When grinding a thin steel plate, depending upon the
state of the workbench, a loud noise will be created due
to resounding noise from the steel plate being ground. To
eliminate unwanted noise in this instance, place a rubber
mat beneath the material to be ground.
5. Mounting the wheel guard
Be sure to mount the wheel guard at an angle that will
protect the operator's body from injury by a broken wheel
piece.
6. Confi rm the push button
Confi rm that the push button is disengaged by pushing
push button two or three times before switching the
power tool on.
50 Hz
