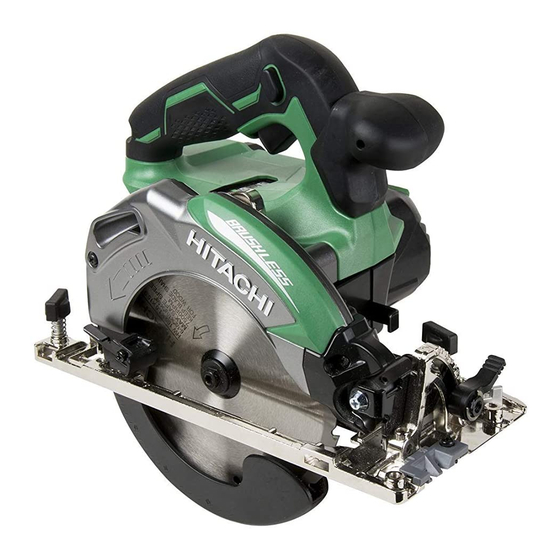
HIKOKI C 18DBAL Handling Instructions Manual - Page 9
Browse online or download pdf Handling Instructions Manual for Saw HIKOKI C 18DBAL. HIKOKI C 18DBAL 20 pages.

MOUNTING AND OPERATION
Action
Fine tuning of parallelism
Fine tuning of perpendicularity
Fine tuning of guide piece position
Adjusting the cutting depth
Cutting line
Switch operation
About the mode select function (*1)
Remaining battery indicator
Using the LED light
Attaching the long guide
(sold separately)
Attaching the guide (sold separately)
Attaching the dust collection adapter
(sold separately)
Attaching the fl uorine plate
(sold separately)
Removing and inserting the battery
Charging
Cutting at right angles
Inclined cutting (+45° direction)
Inclined cutting (–5° direction)
Dismounting the saw blade
Mounting the saw blade
Charging a USB device from an
electrical outlet
Charging a USB device and battery
from an electrical outlet
How to recharge USB device
When charging of USB device is
completed
Selecting accessories
(*1) About the mode select function
Each time the mode selector switch is pushed, the
operation mode changes.
When Silent mode is selected, the Silent mode indicator
lamp lights up.
Silent mode reduces maximum motor RPM enabling
effi cient work with less noise.
If the load increases while the motor is operating in
Silent mode, it automatically changes to Power mode.
Additionally, if the load decreases again, it automatically
returns to Silent mode.
In Power mode, no change is made to Silent mode even
when the load decreases.
Mode
Power
Silent
NOTE
○ The mode will only change after a battery is installed and
the switch is pulled once.
○ The current mode will be maintained even if the switch is
on/off , or the battery is removed/reinserted.
Figure
Page
9
13
10
13
11
13
12
14
13
14
14
14
15
14
16
14
17
14
18
15
19
15
20
15
21
15
22
15
23
15
24
16
25
16
26
16
27
17
28
17
29-a
18
29-b
18
30
18
31
18
―
19
No-load speed
4100 /min
2500 /min
ABOUT THE KICKBACK REDUCTION
SYSTEM
This product is equipped with a Kickback Reduction System
that monitors changes in the motor's rotation speed and
stops the motor the instant it detects a sudden drop in speed
due to the saw blade becoming bound, etc.
If the Kickback Reduction System activates...
When the Kickback Reduction System activates and stops
the motor:
1. Immediately turn off the main unit's switch
2. Check for the cause of the load that is applying excessive
pressure against the saw blade
3. Remove the cause of the overload
4. Turn the switch back on
5. Resume cutting
CAUTION
Depending on operating conditions, Kickback Reduction
may not work or may not provide the specifi ed
performance. Make sure that the work piece is placed
and supported properly, and that the main unit is held
fi rmly during cutting. (Fig. 2, 5)
MAINTENANCE AND INSPECTION
1. Inspecting the saw blade
Since use of as dull saw blade will degrade effi ciency
and cause possible motor malfunction, sharpen or
replace the saw blade as soon as abrasion is noted.
2. Inspecting the mounting screws
Regularly inspect all mounting screws and ensure that
they are properly tightened. Should any of the screws be
loose, retighten them immediately. Failure to do so could
result in serious hazard.
3. Maintenance of the motor
The motor unit winding is the very "heart" of the power
tool. Exercise due care to ensure the winding does not
become damaged and/or wet with oil or water.
4. Maintenance of lower guard
For safe and proper working, always keep the machine
and ventilation slots clean. The lower guard must
always be able to more freely and retract automatically.
Therefore, always keep the area around the lower guard
clean. Remove dust and chips by blowing out with
compressed air or with a brush.
5. Cleaning on the outside
When the power tool is stained, wipe with a soft dry cloth
or a cloth moistened with soapy water. Do not use chloric
solvents, gasoline or paint thinner, for they melt plastics.
6. Storage
Storing in a place below 40°C and out of the reach of
children.
NOTE
Storing lithium-ion batteries.
Make sure the lithium-ion batteries have been fully
charged before storing them.
Prolonged storage (3 months or more) of batteries with
a low charge may result in performance deterioration,
signifi cantly reducing battery usage time or rendering
the batteries incapable of holding a charge.
However, signifi cantly reduced battery usage time may
be recovered by repeatedly charging and using the
batteries two to fi ve times.
If the battery usage time is extremely short despite
repeated charging and use, consider the batteries dead
and purchase new batteries.
9
