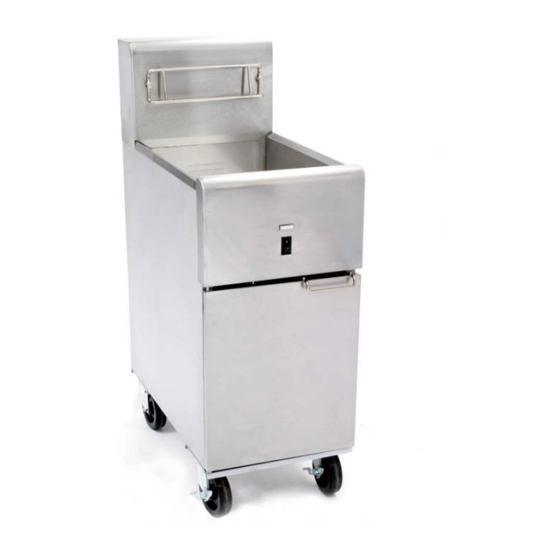
Dean SR114E Service & Parts Manual - Page 8
Browse online or download pdf Service & Parts Manual for Fryer Dean SR114E. Dean SR114E 20 pages. Super runner series electric fryers
Also for Dean SR114E: Installation & Operation Manual (12 pages), Installation & Operation Manual (12 pages)

1.8
Replacing a Heating Element
1. Perform Procedure 1.7, Replace Temperature Probe, Steps 1-4.
2. Mark wires of the elements before disconnecting from the contactor to facilitate easy
reassembly. Pull the wires through the conduit.
3. Remove element using an open-end wrench or other suitable tool to loosen the compression
fitting.
4. Gently remove the element by sliding out into the frypot and lifting up as you remove it.
5. Insert new element and reassemble in reverse order. Ensure that the element wires are correctly
attached to the contactor.
1.9
Replacing a Frypot
1. Perform Procedure 1.3, Accessing the Control Box Electronics, Steps 1-2.
2. Perform Procedure 1.7, Replacing a Temperature Probe, Steps 1-7.
3. Perform Procedure 1.8, Replacing a Heating Element, Steps 1-4.
4. Remove the screws holding the fluecap to the side panels.
5. Remove the screws attaching the faceplate bracket and heatshield to the front of the frypot
6. Remove the screws securing the frypot to the front frame of the fryer.
7. Carefully lift the frypot from the cabinet.
8. Remove the drain valve from the old frypot and install on the new frypot.
9. Apply Loctite Sealant PST 567 to the high-limit threads, temperature probe threads and element
threads. Install high-limit, temperature probe and elements into the new frypot.
10. Follow the preceding steps in reverse to install the new frypot into the fryer.
1-4
