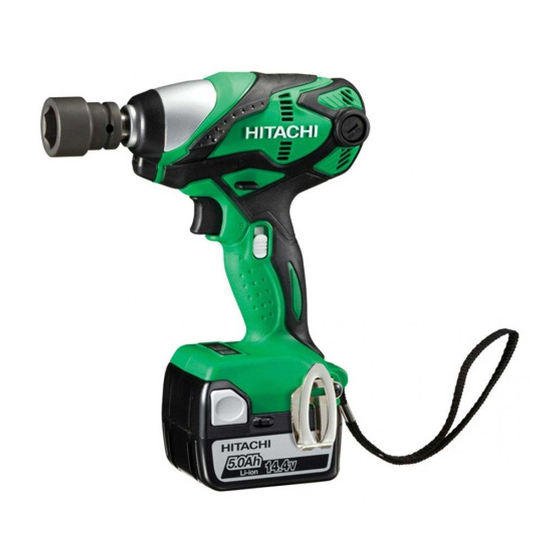
HIKOKI WR 14DSDL Handling Instructions Manual - Page 5
Browse online or download pdf Handling Instructions Manual for Impact Driver HIKOKI WR 14DSDL. HIKOKI WR 14DSDL 16 pages.

Pm
Power mode
Sm
Save mode
S
Small screw
Ordinary bolt
H
High tension bolt
Hex. drive size
Square drive size
MT
Tightening torque (Maximum)
Weight
kg
Switching ON
Switching OFF
Battery capacity
Light switch
Remaining battery indicator switch
Clockwise rotation
Counterclockwise rotation
The battery remaining power is nearly empty.
Recharge the battery soonest possible
The battery remaining power is a half.
The battery remaining power is enough.
STANDARD ACCESSORIES
In addition to the main unit (1), the package contains the
accessories listed on page 9.
Standard accessories are subject to change without notice.
APPLICATIONS
<WH14DSDL / WH18DSDL>
○ Driving and removing of small screws, small bolts, etc.
<WR14DSDL / WR18DSDL>
○ Tightening and loosening of all types of bolts and nuts,
used for securing structural items
SPECIFICATIONS
The specifi cations of this machine are listed in the Table on
page 9.
NOTE
Due to HiKOKI's continuing program of research and
development, the specifi cations herein are subject to
change without prior notice.
CHARGING
Before using the power tool, charge the battery as follows.
1. Connect the charger's power cord to the receptacle.
(Fig. 2)
<UC18YFSL, UC18YKSL>
When connecting the plug of the charger to a receptacle,
the pilot lamp will blink in red (At 1-second intervals).
<UC18YSL3>
When connecting the plug of the charger to a receptacle,
the charge indicator lamp will blink in red (At 1-second
intervals).
CAUTION
Do not use the electrical cord if damaged. Have it
repaired immediately.
2. Insert the battery into the charger. (Fig. 2)
Firmly insert the battery into the charger.
3. Charging
<UC18YFSL, UC18YKSL>
When inserting a battery in the charger, the pilot lamp
will light up continuously in red.
When the battery becomes fully recharged, the pilot
lamp will blink in red (At 1-second intervals). (See Table
1-a)
● Pilot lamp indication
The indications of the pilot lamp will be as shown in
Table 1-a, according to the condition of the charger or
the rechargeable battery.
<UC18YSL3>
When inserting a battery in the charger, the charge
indicator lamp will blink in blue.
When the battery becomes fully recharged, the charge
indicator lamp will light up in green. (See Table 1-b)
● Charge indicator lamp indication
The indications of the charge indicator lamp will be as
shown in Table 1-b, according to the condition of the
charger or the rechargeable battery.
5
