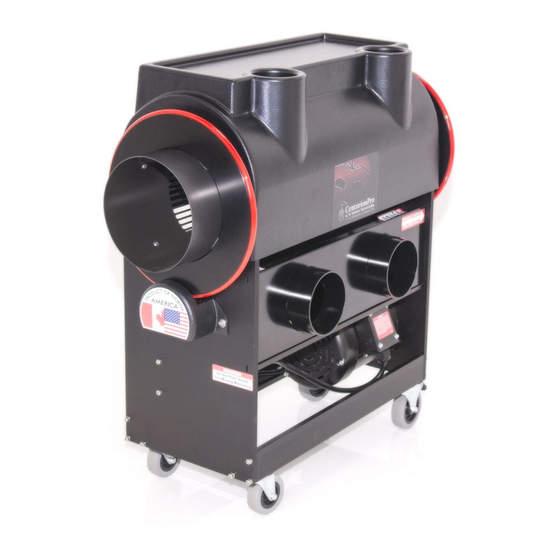
CenturionPro THE MINI Owner's Manual - Page 8
Browse online or download pdf Owner's Manual for Trimmer CenturionPro THE MINI. CenturionPro THE MINI 18 pages.

BLADE REMOVAL
For optimal performance and life, the BLADE and the MAGNET BAR must be removed and cleaned every 3-4 hours of operation.
STEP 1:
UNLOCK BLADE
- Remove 3/32" bolt
- Loosen the surrounding set screws ONLY
IMPORTANT NOTE:
YOUR BED BAR BLADE HAS BEEN FACTORY SET TO CUT PERFECTLY. PLEASE DO NOT ALTER THE SETTINGS OF YOUR MACHINE. YOU
MIGHT NOTICE SLIGHT CONTACT BETWEEN YOUR ROTATING CUTTING REEL AND THE FLAT BED BAR BLADE - THIS IS NORMAL.
CLEANING THE MINI
For optimal performance and life, the components must be cleaned every day after use.
STEP 1:
CLEAN
BRUSH
Clean the length
of the brush of all
debris using hot
pressurized water.
IMPORTANT NOTE:
- Clean with pressure-washer at 1500 - 2000 psi.
- Hot water, fan spray setting
- Run TableTop for 15 mins after washing to allow components to dry
- DO NOT pressure-wash Quantanium Coated tumblers (see page. 10)
8
1 855 535 0558
STEP 2:
UNPIN BLADE
- Pivot the pin up from the blade
STEP 2:
CLEAN
ELECTROPLISH
TUMBLER
Clean the length of
the tumbler of all
debris using hot
pressurized water.
cprosolutions.com
CLEANING & MAINTENANCE
STEP 3:
BLADE & MAGNET REMOVAL
- Carefully slide blade off magnets
- Carefully Remove bed bar blade
STEP 3:
CLEAN CUTTING
REEL & SHROUD
Clean the length of the
cutting reel and shroud
of all debris using hot
pressurized water.
AVOID
WATER IN
BEARINGS
STEP 4:
BLADE & MAGNET CLEANING
- Clean blade and magnet bar with a utility knife.
INSTALLATION IS REVERSE ORDER OF REMOVAL
AVOID
WATER
ON THE
MOTOR
