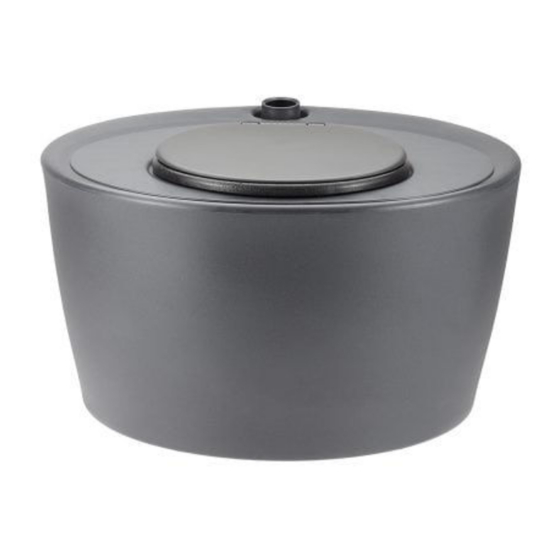
GREEN LOO Rota–Pod Owner's Installation & Operations Manual - Page 6
Browse online or download pdf Owner's Installation & Operations Manual for Toilets GREEN LOO Rota–Pod. GREEN LOO Rota–Pod 8 pages. Dry composting toilet
Vent Pipe Installation
The ventilation pipe should rise perpendicularly with as few curves and elbows as possible, the vent
cowl placed on top. Don't use pipe cement – the push fittings should be tight enough for this purpose,
and this allows you to dismantle and service the vent system as required.
The below is an example as to a standard vent installation – there are many permutations possible and
if in doubt, contact us for discussion and guidance:
1. Cut off a short piece of vent pipe and fit over the exhaust outlet of the Rota Pod.
2. Attach the fan (supplied), and cut off a short piece of the vent pipe and insert into the fan. Plug the fan
into the power supply (supplied) or 12V system and ensure the airflow is away from the composting
container, upwards towards the exhaust end.
3. Attach the 45 degree bend (supplied), pointing backwards. Cut a hole in the wall, allowing the vent pipe
assembly to traverse the wall. Cut a short piece of pipe to traverse the wall.
a. If using a moisture trap (optional extra): Attach the Y joiner as per the picture. Cut off a short
piece of vent pipe and insert into the Y – joiner at the bottom. Finish with attaching the cap.
This is your moisture trap, which should be emptied every few weeks by undoing the cap,
letting the water drain out and re-attaching the cap.
b. If using a 45 degree joiner (supplied as standard), attach to the pipe instead.
4. Attach a length of vent pipe to the house wall using pipe fasteners. Add additional vent pipes, joiners
and pipe fasteners (from your local plumbing store) as required. Cap with the (supplied) vent cowl. The
vent cowl should be 60 cm above the roof line. Congratulations, you are done!
2. BEFORE USE
Before putting the system into use, line the composting chambers with the Geotech material supplied
(available to re-order) and with a 2 - 3 cm layer of peat. Also, after every emptying, remember to add a
Geotech material and a new layer of peat before use.
3. USE OF THE ROTA POD
The Rota Pod System can be used almost like any normal water toilet. Toilet paper can be thrown into
the toilet, as it composts together with the waste. However, any items containing plastic, e.g. sanitary
towels should be placed into a separate bin. A handful of covering material (peat, 1 cup) should be
added after each bowel movement.
Remember that there is a balance between covering the deposit enough visually, and covering it
excessively, resulting in the chamber filling up and needing changing more often.
Our compost accelerator (biodegrader) may also be added.
6