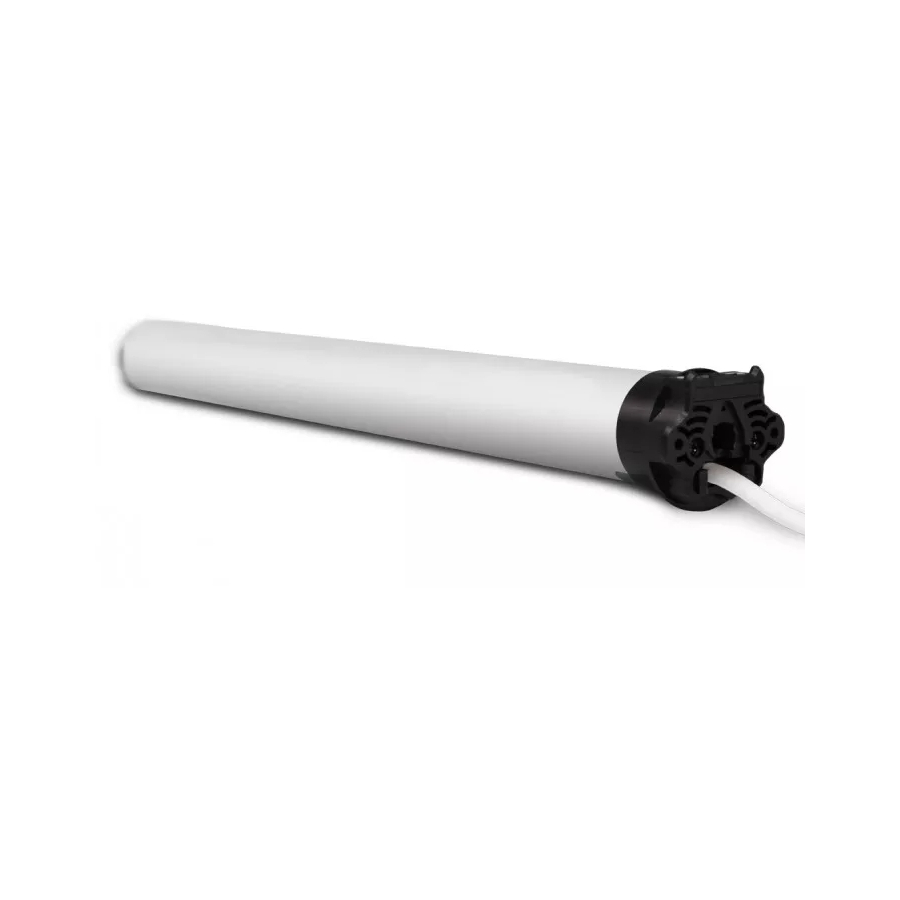
In addition to the programming from the remote, we added a programming button on the head
of the motor
Advantages and how it works:
1. Push and hold it down until the motor wakes up and turns in one direction. The motor has
opened the memory to accept the remote signal for pairing. Release the white button and push
the corresponding UP or DOWN button on the remote You paired the remote and synchronized
the rotational direction with the commands.
2. Every time you push the white button the motor turns in one direction. It may be clockwise or
anti clockwise. If the motor turns clockwise but you want it to turn anti clockwise, release the
white button and push it again quickly holding it down. Now the motor turns in the opposite
direction.
3. Every time you push the white button you clear the memory erasing any former paired remote
and automatically you open it to accept the new remote. An interesting feature when you get a
service call because the remote was lost, broken or stolen (in case or restaurants or commercial
sites) the only thing you need to do, is to get a brand new remote push and hold down the white
button on the motor and until it wakes up and turn in one direction, push the corresponding UP
or DOWN button on the remote. PAIRED!! You do not need to reset the limits since they work in
memory fashion. (no double cutting power)
4. When in a multiple motors installations, if you pair every unit individually each one in one
separate channel, the programming by the white button on the motor head it allows you to have
all the motors powered and pair each one individually (otherwise if the motors are all powered,
by opening the programming from the remote all of them will respond to you)
Limit setting:
By pushing the FC button you need to set the top AND the bottom limits. Top always first.
When you want to reset the Top or the bottom:
You do not need to run the screen to the original TOP or BOTTOM limit. The Gaposa radio
protocol is flexible and gives you the ability to reset Top or Bottom from any point the screen is.
To reset the TOP limit:
You need to push and hold down the FC button and the UP button until the motor jogs. Run the
screen to the new top limit position you want. When you reached it press the STOP button. Motor
jogs. New TOP limit is set.
To reset the BOTTOM limit:
You need to push and hold down the FC button and the DOWN button until the motor jogs. Run
the screen to the new bottom limit position you want. When you reached it press the STOP
button. Motor jogs. New BOTTOM limit is set.

