CORNING 6780-NP Instruction Manual - Page 5
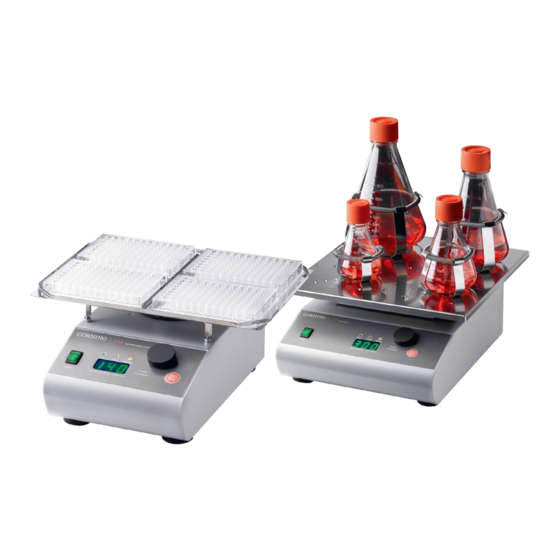
Browse online or download pdf Instruction Manual for Laboratory Equipment CORNING 6780-NP. CORNING 6780-NP 10 pages. Digital microplate and orbital shakers
Also for CORNING 6780-NP: Instruction Manual (13 pages)

4.3 Attaching the Power Cord
Fit the main power cord, which is included in the package, into the power receptacle on the shaker. Connect the other end of the cord
to a properly grounded wall outlet. To avoid interference from noise, surges, and spikes, a dedicated line is preferred. If no such line is
available, avoid lines to which powerful electric motors, refrigerators, and similar devices are connected.
Be careful when you plug the cord to a grounded wall socket. Do not touch plug with wet hands. Do not pull the plug by the cord.
4.4 Installing Shakers Platforms
Microplate Shaker (Cat. Nos. 6780-4, 6781-4, 6782-4)
Each of these models comes with the platform and 4 screws. Using a screwdriver, attach the platform firmly to the shaker base with
the 4 included screws.
Orbital Shakers (Cat. Nos. 6780-NP, 6781-NP, 6782-NP)
Models 6780-NP, 6781-NP and 6782-NP orbital shakers have a variety of platforms to meet most shaking needs (sold separately).
These platforms mount to the shakers via four mounting platforms which easily plug into four rubber mount points on the top of
the shaker.
5.0 Operating Instructions
5.1 Controls
1
Power
1. POWER switch: Turns the shaker ON (power switch illuminates) or OFF
2. RUN green light: Illuminates when the shaker is running
3. TIME yellow light: Illuminates when the shaker is set on time
4. RPM yellow light: Illuminates when the shaker is set on rpm
5. ENCODER: By rotating the encoder knob right (+) or left (-) you can change the set TIME or RPM. Push the encoder knob to switch
between TIME and RPM set values. If you rotate the encoder knob fast, the values go up or down on the display very quickly
6. START/STOP button: START or STOP operation
2
3
4
Run
Time
Speed
ENCODER
Speed(RPM) Time(min)
PUSH
(Time/Speed)
5
6
Start
Stop
Instruction Manual
|
3
