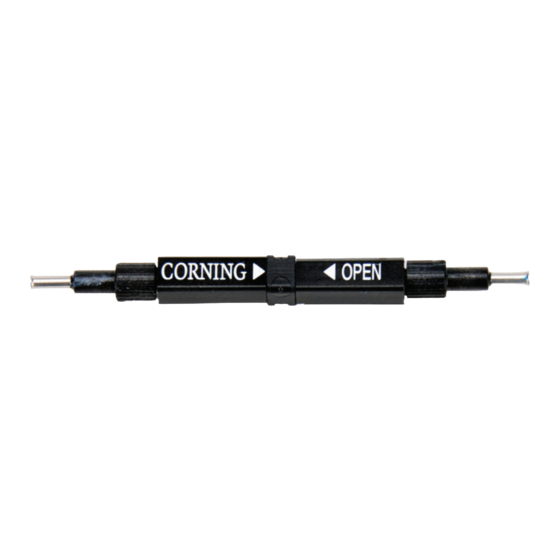
CORNING CamSplice FBC-017 Assembly
Browse online or download pdf Assembly for Laboratory Equipment CORNING CamSplice FBC-017. CORNING CamSplice FBC-017 10 pages. Splicer

revision history |
Issue
Date
1
08/2008
table of contents |
1.
General. . . . . . . . . . . . . . . . . . . . . . . . . . . . . . . . . . . . . . . . . . . . . . . . . . . . . . . . . . . . . . . . . . 1
2.
Tools and Materials Required . . . . . . . . . . . . . . . . . . . . . . . . . . . . . . . . . . . . . . . . . . . . . . . . 2
3.
Loading CamSplice into Tool . . . . . . . . . . . . . . . . . . . . . . . . . . . . . . . . . . . . . . . . . . . . . . . . . 3
4.
Preparing Cable and Fiber . . . . . . . . . . . . . . . . . . . . . . . . . . . . . . . . . . . . . . . . . . . . . . . . . . . 3
5.
Cleaving Fiber . . . . . . . . . . . . . . . . . . . . . . . . . . . . . . . . . . . . . . . . . . . . . . . . . . . . . . . . . . . . 5
6.
Assembling CamSplice with Tool . . . . . . . . . . . . . . . . . . . . . . . . . . . . . . . . . . . . . . . . . . . . . . 6
7.
Completing CamSplice Assembly . . . . . . . . . . . . . . . . . . . . . . . . . . . . . . . . . . . . . . . . . . . . . 8
7.1 Crimp Lead-in Tube . . . . . . . . . . . . . . . . . . . . . . . . . . . . . . . . . . . . . . . . . . . . . . . . . . . . 8
7.2 Remove Completed CamSplice from Tool. . . . . . . . . . . . . . . . . . . . . . . . . . . . . . . . . . . 8
8.
Maintaining Cleaver . . . . . . . . . . . . . . . . . . . . . . . . . . . . . . . . . . . . . . . . . . . . . . . . . . . . . . . . 9
8.1 Clean the Clamps. . . . . . . . . . . . . . . . . . . . . . . . . . . . . . . . . . . . . . . . . . . . . . . . . . . . . . 9
8.2 Clean the Blade . . . . . . . . . . . . . . . . . . . . . . . . . . . . . . . . . . . . . . . . . . . . . . . . . . . . . . . 9
8.3 Change the Blade Assembly . . . . . . . . . . . . . . . . . . . . . . . . . . . . . . . . . . . . . . . . . . . . . 9
1.
General
This procedure outlines the use of the CamSplice and TKT-CAMSPLICE-CC Toolkit for splicing
single-mode optical fibers (see Table 1 on page 2). This document describes and illustrates
splicing both loose tube and tight-buffered fibers with the CamSplice Mechanical Splicer.
The CamSplice™ mechanical splicer accepts either 250 or 900 micron fibers and has been
optimized specifically for Corning ClearCurve™ fiber. No adhesives, special tools, or power-
operated equipment are required for splicing operations.
Each CamSplice unit is shipped ready for splicing in an "open position" with its cams 180 degrees
apart. To secure the fibers, the cams are rotated into their closed position. When completed, the
beveled surfaces of the CamSplice's center section and its two cams are aligned with each other,
providing visual confirmation that the splice is secured.
IMPORTANT:
STANDARD RECOMMENDED PROCEDURE 006-383 | ISSUE 1 | AUGUST 2008 | PAGE 1 OF 10
Reason for Change
Initial release
Read and understand this procedure completely before starting a CamSplice
assembly.
For best results, keep the CamSplices clean. Do not remove from packaging
until ready for use. Do not rotate the cams until the fibers are inserted.
CamSplice™ FBC-017
Assembly
p/n 006-383, Issue 1
