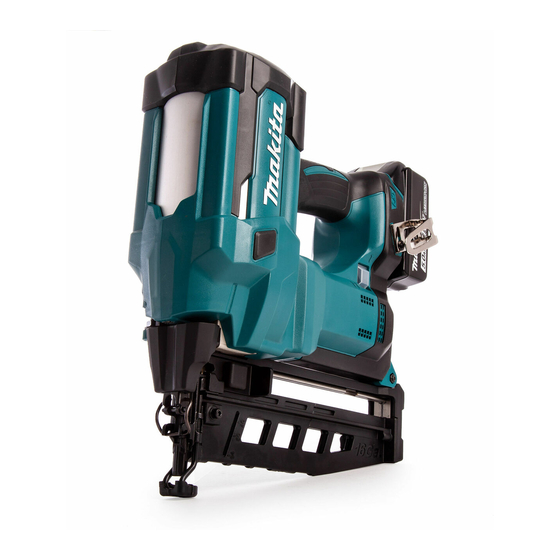
Makita DBN600 Instruction Manual - Page 10
Browse online or download pdf Instruction Manual for Power Tool Makita DBN600. Makita DBN600 13 pages. Cordless finish nailer
Also for Makita DBN600: Instruction Manual (13 pages)

CAUTION:
Do not drive nails on hard mate-
rials such as metal or the like. If the nail cannot
penetrate the material, the nailer may be kicked back
toward you and cause injury.
NOTE: If you drive nails continuously for a long time,
the exhaust air will get hot due to the heat from the
motor.
The tool employs two nailing actions: intermittent nailing
(sequential mode) and continuous/intermittent nailing
(continuous mode).
1
► 1 . Switch trigger 2. Contact element 3. Mode select-
ing switch 4. Sequential mode 5. Continuous mode
Intermittent nailing (sequential mode)
1.
Set the mode selecting switch to the sequential
mode.
2.
Release the trigger lock.
3.
Place flat the contact element on the material.
4.
Pull the switch trigger fully to drive a nail.
5.
To drive the next nail, release the switch trigger
and contact element once, and then repeat the step 3
and 4 above.
WARNING:
Always be sure to first place the
contact element against the workpiece before
pulling the trigger.
Continuous/intermittent nailing
(continuous mode)
1.
Set the mode selecting switch to the continuous
mode.
2.
Release the trigger lock.
3.
Pull the switch trigger first and then place the
contact element against the workpiece.
4.
To drive the next nail, keep your finger pulling the
switch trigger and place the contact element against the
workpiece again.
3
4
When the remaining nails in the magazine decrease to
6 - 9 pieces, the switch trigger can no longer be pulled.
At this time, insert a new strip of nails in the magazine
and the switch trigger can be pulled again.
5
2
Release the latch and open the door. Remove the
jammed nails and lock the latch.
► 1 . Latch 2. Door
Handle nails and their box carefully. If the nails have
been handled roughly, they may be out of shape or their
connector breaks, causing poor nail feed.
10 ENGLISH
NOTE: This tool stops automatically under the follow-
ing conditions:
•
When you release the switch trigger or contact
element from workpiece before the tool finishes
the operation completely. In this case, pull the
trigger again until the tool turns into standby.
•
When keeping either pulling the switch trigger
or placing the contact element about 5 seconds
without another action. In this case, release the
switch trigger or the contact element from work-
piece to restart the operation.
Anti dry fire mechanism
Removing jammed nails
WARNING:
Always make sure that the battery
cartridge is removed before removing jammed
nails.
CAUTION:
Be sure to lock the latch after
removing jammed nails.
1
2
Handling of the nails
NOTICE:
Avoid storing nails in a very humid or
hot place or place exposed to direct sunlight.
