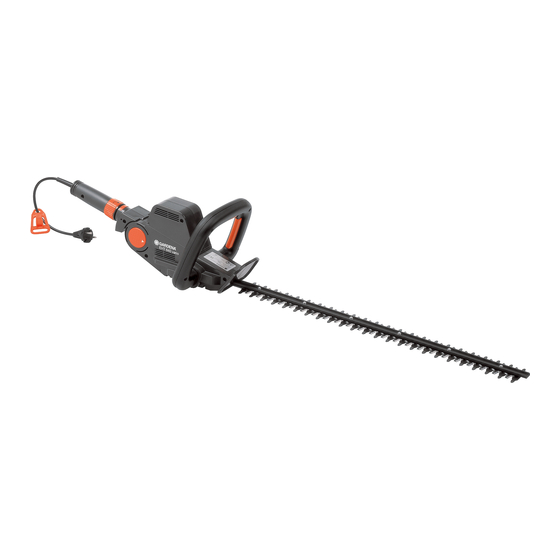
Gardena 2597 Operating Instructions Manual - Page 4
Browse online or download pdf Operating Instructions Manual for Trimmer Gardena 2597. Gardena 2597 10 pages. Electric hedge trimmer

If you stop working
Familiarise yourself
with the surroundings
Never use in rain
or damp / wet areas
Electrical safety –
check for damage
Mains cable
Waterproof extension
cable socket
Extension cable
Using portable units
outdoors
For Switzerland
Never carry the Hedge
Trimmer by its cable
Setting the Working Position
Note
12
Never leave the Hedge Trimmer unattended in the working
place. If you stop work, store the Hedge Trimmer in a safe place.
Disconnect the mains plug!
Should you stop work in order to get to another working place,
always switch off the Hedge Trimmer to go there. Disconnect
the mains plug !
Always attach the blade protection for transport and storage of
the unit.
Make yourself familiar with the surroundings and look out for
dangers which you may not detect due to machinery noise.
Never use the unit when it rains or in damp / wet areas.
Do not operate the Hedge Trimmer near swimming pools and
garden ponds.
Check the power cable regularly for damage and signs of wear
and tear. The power cable must only be exchanged by an
authorised electrician. Please contact your GARDENA Service
Centre.
The Hedge Trimmer must only be operated with an undamaged
electrical cable. If the mains- or extension cable is damaged,
disconnect the mains plug immediately.
The socket of an extension cable should be waterproof.
Only use permitted extension cables. Ask your electrician.
For portable units which are used outdoors, we recommend
to use a residual-current device having a residual-current rating
30 mA.
In Switzerland use of a residual-current device is obligatory.
Never carry the Hedge Trimmer by its cable. Never use the
cable to pull the connector plug out of the mains socket.
Protect the cable from heat, oil and sharp edges.
To set the working position you must first unplug the mains
.
plug from the socket!
Leave the blade cover on the blade.
.
The handle can be adjusted to 11 different working positions
(in 12° steps, total range 120°).
Press and hold down the black studded button until you have
.
moved the swivel handle up or down to a position which is
comfortable for you.
Release the button and ensure the handle locks into place.
.
Danger of injury!
