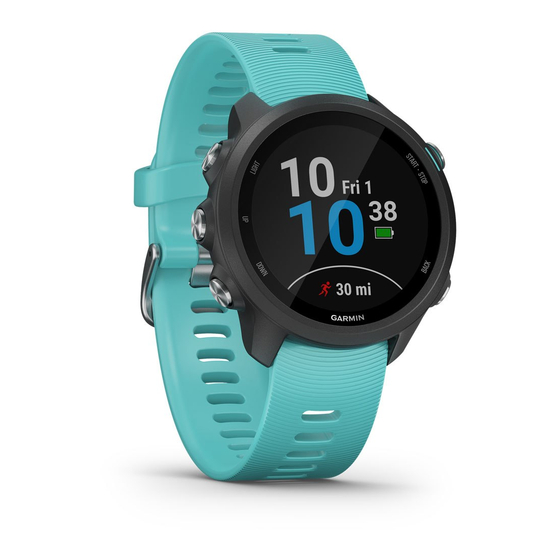
Garmin FORERUNNER 245 Owner's Manual - Page 30
Browse online or download pdf Owner's Manual for Watch Garmin FORERUNNER 245. Garmin FORERUNNER 245 40 pages.

Controlling a VIRB Action Camera During an Activity
Before you can use the VIRB remote function, you must enable
the remote setting on your VIRB camera. See the VIRB Series
Owner's Manual for more information. You must also set the
VIRB widget to be shown in the widget loop
Widget Loop, page
22).
1
Turn on your VIRB camera.
2
On your Forerunner device, select UP or DOWN from the
watch face to view the VIRB widget.
3
Wait while the device connects to your VIRB camera.
When the camera is connected, a VIRB data screen is
automatically added to the activity apps.
4
During an activity, select UP or DOWN to view the VIRB data
screen.
5
Hold UP.
6
Select VIRB.
7
Select an option:
• To control the camera using the activity timer, select
Settings > Timer Start/Stop.
NOTE: Video recording automatically starts and stops
when you start and stop an activity.
• To control the camera using the menu options, select
Settings > Manual.
• To manually record video, select Start Recording.
The video counter appears on the Forerunner screen.
• To take a photo while recording video, select DOWN.
• To manually stop recording video, select STOP.
• To take a photo, select Take Photo.
Device Information
Viewing Device Information
You can view device information, such as the unit ID, software
version, regulatory information, and license agreement.
1
From the watch face, hold UP.
2
Select Settings > System > About.
Viewing E-label Regulatory and Compliance
Information
The label for this device is provided electronically. The e-label
may provide regulatory information, such as identification
numbers provided by the FCC or regional compliance markings,
as well as applicable product and licensing information.
1
From the watch face. hold UP.
2
Select Settings > System > About.
Charging the Device
This device contains a lithium-ion battery. See the Important
Safety and Product Information guide in the product box for
product warnings and other important information.
To prevent corrosion, thoroughly clean and dry the contacts and
the surrounding area before charging or connecting to a
computer. Refer to the cleaning instructions in the appendix.
1
Plug the small end of the USB cable into the charging port on
your device.
26
(Customizing the
WARNING
NOTICE
2
Plug the large end of the USB cable into a USB charging
port.
3
Charge the device completely.
Tips for Charging the Device
1
Connect the charger securely to the device to charge it using
the USB cable
(Charging the Device, page
You can charge the device by plugging the USB cable into a
Garmin approved AC adapter with a standard wall outlet or a
USB port on your computer. Charging a fully depleted battery
takes up to two hours.
2
Remove the charger from the device after the battery charge
level reaches 100%.
Wearing the Device
• Wear the device above your wrist bone.
NOTE: The device should be snug but comfortable. For more
accurate heart rate readings, the device should not move
while running or exercising. For pulse oximeter readings, you
should remain motionless.
NOTE: The optical sensor is located on the back of the
device.
• See
Tips for Erratic Heart Rate Data, page 11
information about wrist-based heart rate.
• See
Tips for Erratic Pulse Oximeter Data, page 16
information about the pulse oximeter sensor.
• For more information about accuracy, go to
/ataccuracy.
Device Care
Avoid extreme shock and harsh treatment, because it can
degrade the life of the product.
Avoid pressing the keys under water.
Do not use a sharp object to clean the device.
Avoid chemical cleaners, solvents, and insect repellents that can
damage plastic components and finishes.
Thoroughly rinse the device with fresh water after exposure to
chlorine, salt water, sunscreen, cosmetics, alcohol, or other
harsh chemicals. Prolonged exposure to these substances can
damage the case.
26).
for more
for more
garmin.com
NOTICE
Device Information
