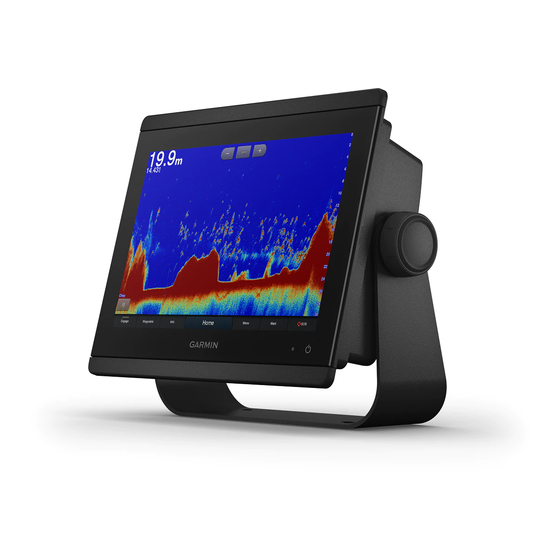
Garmin GPSMAP 8600 series Quick Start Manual - Page 3
Browse online or download pdf Quick Start Manual for Car Navigation system Garmin GPSMAP 8600 series. Garmin GPSMAP 8600 series 6 pages.
Also for Garmin GPSMAP 8600 series: Installation Instructions Manual (9 pages), Installation Instructions Manual (9 pages)

2
Insert the memory card
.
3
Press the card in until it clicks.
4
Press the weather cap firmly shut to prevent corrosion.
Basic Operation
Home Screen
The chartplotter home screen provides access to all of the
features in the chartplotter. The features are dependant on
the accessories you have connected to the chartplotter.
You may not have all of the options and features discussed
in this manual.
Status bar
Feature categories
Page buttons
TIP: Hold a button to save that page to the Favorites
category.
Menu bar
TIP: When viewing another screen, you can return to the
home screen by selecting Home.
Adding an Item to Favorites
1
From the home screen, select a category from the right.
2
Hold a button on the left.
The item is added to the Favorites home screen
category.
Customizing the Layout of a SmartMode or
Combination Page
You can customize the layout and data shown in the
combination pages and SmartMode layouts. When you
change the layout of a page in a display you are interacting
with, the change appears only on that display, except for
the SmartMode name and symbol. When you change the
SmartMode name or symbol for the layout, the new name
or symbol appears on all displays in the station.
1
Open a page to customize.
2
Select Menu.
3
Select Edit Layout or Edit Combo.
4
Select an item to edit.
TIP: While viewing a screen with data overlay, hold an
overlay box to quickly change the data in it.
Quick Start Manual
Navigating to a Point on the Chart
WARNING
A magenta line displayed on the chartplotter is only
intended to provide general route guidance or to identify
proper channels, and it is not intended to be precisely
followed. Always defer to the navaids and conditions on the
water when navigating to avoid groundings or hazards that
could result in vessel damage, personal injury, or death.
1
From the Navigation chart or Fishing chart, select a
location.
2
If necessary, select Navigate To.
3
Select an option:
• To navigate directly to the location, select Go To or
.
• To create a route to the location, including turns,
select Route To or
• To use Auto Guidance, select Auto Guidance or
.
NOTE: Auto Guidance is available with premium
charts, in some areas.
4
Review the course indicated by the magenta line.
NOTE: When using Auto Guidance, a gray segment
within any part of the magenta line indicates that Auto
Guidance cannot calculate part of the Auto Guidance
line. This is due to the settings for minimum safe water
depth and minimum safe obstacle height.
5
Follow the magenta line, steering to avoid land, shallow
water, and other obstacles.
Copying User Data to a Memory Card
You can save user data to a memory card to transfer to
other devices. User data includes waypoints, routes, Auto
Guidance paths, tracks, and boundaries.
1
Insert a memory card into the card slot.
2
Select Info > User Data > Data Transfer > Save to
Card.
3
If necessary, select the memory card to copy the data
to.
4
Select an option:
• To create a new file, select Add New File, and
enter a name.
• To add the information to an existing file, select the
file from the list, and select Save to Card.
Showing Tracks
1
From a chart, select Menu > Layers > User Data >
Tracks.
2
Select the tracks to display.
A trailing line on the chart indicates your track.
Configuring the Recording Interval of the Track
Log
You can indicate the frequency at which the track plot is
recorded. Recording more frequent plots is more accurate
but fills the track log faster. The resolution interval is
recommended for the most efficient use of memory.
1
Select Info > User Data > Tracks > Active Track
Options > Interval > Interval.
.
3
