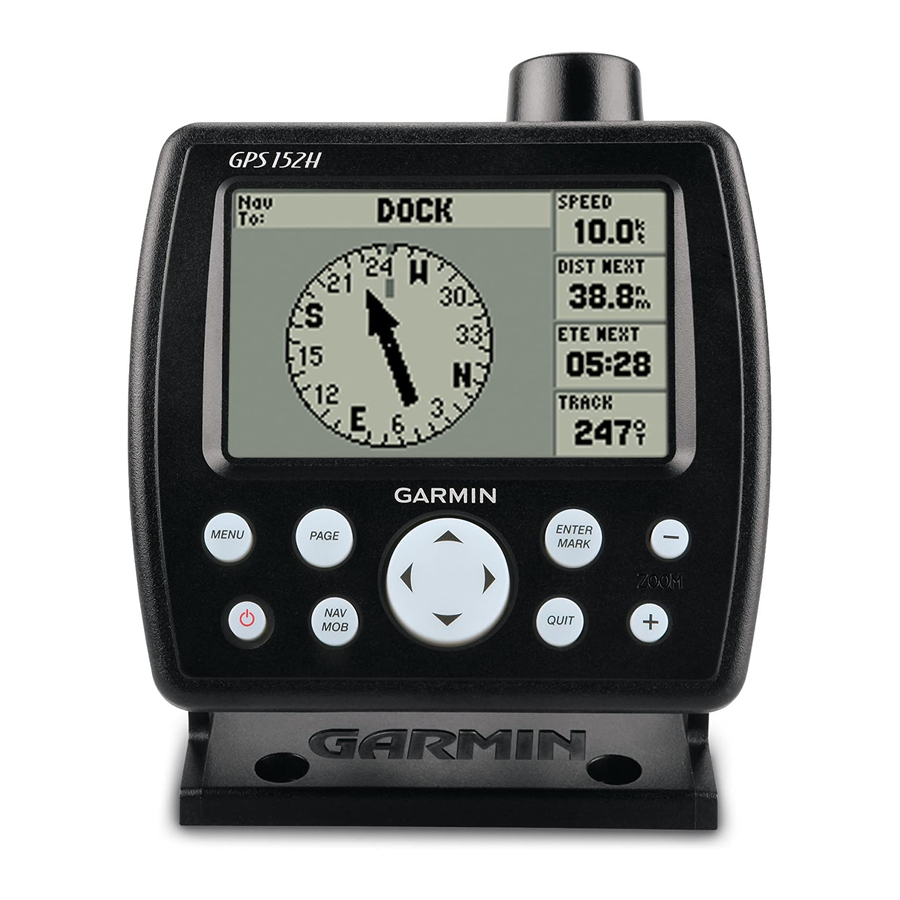
Garmin GPS 152H Installation Instructions Manual - Page 3
Browse online or download pdf Installation Instructions Manual for Marine GPS System Garmin GPS 152H. Garmin GPS 152H 36 pages. Declaration of conformity
Also for Garmin GPS 152H: Quick Start Manual (49 pages), Owner's Manual (32 pages), Important Safety Information (48 pages), Declaration Of Conformity (6 pages)

Your GPS 152H device must be properly installed according to the following instructions. You need the appropriate fasteners, tools, and mounts
listed in each section. If you experience difficulty installing the GPS 152H device, seek the assistance of a professional installer, or contact
Garmin Product Support.
See the Important Safety and Product Information guide in the product box for product warnings and other important information.
Always wear safety goggles, ear protection, and a dust mask when drilling, cutting, or sanding.
When drilling or cutting, always check the opposite side of the drilling or cutting surface.
Mounting the GPS 152H Device
Use pan-head machine bolts or self-tapping screws to secure the swivel base. If you use screws with countersunk heads, you may damage the
mounting bracket.
Use the included bracket to surface-mount the device. You will need the following tools and fasteners:
•
Drill
•
Phillips or flat screwdriver
•
Four #8 (4 mm) pan-head machine bolts with matching nuts and washers and a
four #8 pan-head self-tapping screws and a
Consider the following when selecting a location to mount your device:
•
The location provides optimal viewing as you operate your boat.
•
The location allows for easy access to the keypad on the device.
•
The location is strong enough to support the weight of the device and protect it from excessive vibration or shock.
•
The location is at least 12 in. (30 cm) away from a magnetic compass to avoid interference.
•
The location allows room for the routing and connection of the cables. There should be at least a 3 in. (8 cm) clearance behind the case.
Do not mount the device in an area that is exposed to extreme temperatures or conditions. The temperature range for the device is from 5°F to
131°F (from -15°C to 55°C). Extended exposure to temperatures exceeding this range (in storage or operating conditions) may cause failure of
the LCD screen. This type of failure and related consequences are not covered by the manufacturer's limited warranty.
to install the mounting bracket:
1. Using the mounting bracket as a template, mark the location of the four holes that secure the bracket to the mounting surface.
2. Drill the mounting holes.
•
If you secure the base with machine bolts, drill four
•
If you secure the base with self-tapping screws, drill four
starter holes deeper than half the screw length.
3. Secure the mounting bracket with four bolts or screws. Do not overtighten the screws or bolts because you may damage the bracket.
March 2010
GPS 152H Installation Instructions
WarnInG
CautIon
notice
notice:
/
in. (1.5 mm) drill bit for drilling starter holes.
1
16
notice
/
in. (5 mm) holes at the locations you marked.
5
32
/
in. (1.5 mm) starter holes at the locations you marked. Do not make the
1
16
190-01219-91 Rev. A
/
in. (5 mm) drill bit, or
5
32
OK
OK
Printed in Taiwan
