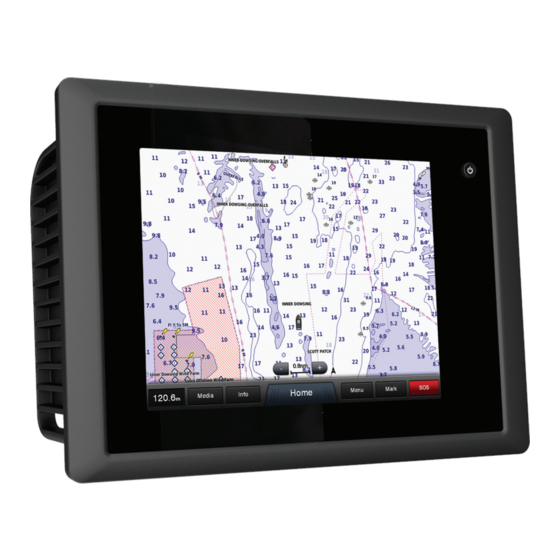
Garmin GPSMAP 8530 Black Box Owner's Manual - Page 13
Browse online or download pdf Owner's Manual for Marine GPS System Garmin GPSMAP 8530 Black Box. Garmin GPSMAP 8530 Black Box 36 pages. Quick start manual
Also for Garmin GPSMAP 8530 Black Box: Instructions Manual (12 pages), Quick Start Manual (4 pages)

Basic Navigation Questions
Question
How do I make the chartplotter point
me in the direction in which I want to
go (bearing)?
How do I make the device guide me
along a straight line (minimizing cross
track) to a location using the shortest
distance from the present location?
How do I make the device guide me
to a location while avoiding charted
obstacles?
How do I make the device steer my
automatic pilot?
Can the device create a path for me? If you have premium maps that
How do I change the Auto Guidance
settings for my boat?
Destinations
You can select destinations using various charts and 3D chart
views or using the lists.
Searching for a Destination by Name
You can search for saved waypoints, saved routes, saved
tracks, and marine services destinations by name.
1
Select Info > Services > Search by Name.
2
Enter at least a portion of the name of your destination.
3
If necessary, select Done.
The 50 nearest destinations that contain your search criteria
appear.
4
Select the destination.
Selecting a Destination Using the Navigation Chart
From the Navigation chart, select a destination.
Searching for a Marine Services Destination
NOTE: This feature is available with premium charts, in some
areas.
The chartplotter contains information for thousands of
destinations offering marine services.
1
Select Info > Services.
2
Select Offshore Services or Inland Services.
3
If necessary, select the marine service category.
The chartplotter shows a list of the nearest locations and the
distance and bearing to each.
4
Select a destination.
You can select Next Page or Previous Page to view
additional information or to show the location on a chart.
Courses
The Auto Guidance feature is based on electronic chart
information. That data does not ensure obstacle and bottom
clearance. Carefully compare the course to all visual sightings,
and avoid any land, shallow water, or other obstacles that may
be in your path.
When using Go To, a direct course and a corrected course may
pass over land or shallow water. Use visual sightings, and steer
to avoid land, shallow water, and other dangerous objects.
NOTE: Auto Guidance is available with premium charts, in
some areas.
Navigation with a Chartplotter
Answer
Navigate using Go To. See
page
7.
Build a single-leg route and
navigate it using Route To. See
page
8.
Build a multi-leg route and
navigate it using Route To. See
page
8.
Navigate using Route To. See
page
8.
support Auto Guidance and are
in an area covered by Auto
Guidance, navigate using Auto
Guidance. See
page
7.
See
page
23.
CAUTION
You can set and follow a course to a destination using one of
three methods: Go To, Route To, or Guide To.
Go To: Takes you directly to the destination.
Route To: Creates a route from your location to a destination,
allowing you to add turns along the way.
Guide To: Create a path to a destination using Auto Guidance.
Setting and Following a Direct Course Using Go To
When using Go To, a direct course and a corrected course may
pass over land or shallow water. Use visual sightings, and steer
to avoid land, shallow water, and other dangerous objects.
You can set and follow a direct course from your current
location to a selected destination.
1
Select a destination
(page
2
Select Navigate To > Go To.
A magenta line appears. In the center of the magenta line is
a thinner purple line that represents the corrected course
from your current location to the destination. The corrected
course is dynamic, and it moves with your boat when you are
off course.
3
Follow the magenta line, steering to avoid land, shallow
water, and other obstacles.
4
If you are off course, follow the purple line (corrected course)
to go to your destination, or steer back to the magenta line
(direct course).
Setting and Following a Course Using Auto Guidance
The Auto Guidance feature is based on electronic chart
information. That data does not ensure obstacle and bottom
clearance. Carefully compare the course to all visual sightings,
and avoid any land, shallow water, or other obstacles that may
be in your path.
NOTE: Auto Guidance is available with premium charts, in
some areas.
1
Select a destination
(page
2
Select Navigate To > Guide To.
3
Review the course indicated by the magenta Auto Guidance
line.
4
Follow the magenta line, steering to avoid land, shallow
water, and other obstacles.
NOTE: When using Auto Guidance, a gray segment within
any part of the magenta line indicates that Auto Guidance
cannot calculate part of the Auto Guidance line. This is due
to the settings for minimum safe water depth and minimum
safe obstacle height.
Autopilot Navigation
When you start navigation (Go To, Route To, or Guide To), if
you are connected through a NMEA 2000 ® network to a
compatible Garmin autopilot, you are prompted to engage the
autopilot.
Recalculating the Auto Guidance Route
When navigating with Auto Guidance, select Menu >
Navigation Options > Recalculate Auto Guidance.
Stopping Navigation
While navigating, from the Navigation or Fishing chart, select
an option:
• Select Menu > Stop Navigation.
• When navigating with Auto Guidance, select Menu >
Navigation Options > Stop Navigation.
CAUTION
7).
CAUTION
7).
7
