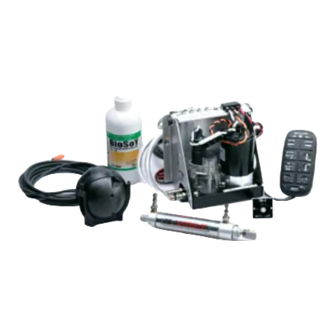
Garmin Gladiator TR-1 Owner's Manual - Page 25
Browse online or download pdf Owner's Manual for Marine Equipment Garmin Gladiator TR-1. Garmin Gladiator TR-1 36 pages. Garmin tr-1 marine autopilot: user guide
Also for Garmin Gladiator TR-1: Installation And User Manual (4 pages), Owner's Manual (13 pages)

Dockside Setup and Sea Trial Setup of Autopilot
Your autopilot needs to be setup and tuned to your boat dynamics and motor configuration.
It is important to get the autopilot operating the best in can. The Dockside Setup and the
Sea Trial Setup are steps that must be followed to achieve the best performance from the
TR-1 Gladiator Autopilot. Have patience and try to do the Sea Trial Setup on a nice calm
day. Follow the directions below. These steps are in a sequence to help keep you from
making any errors. If you have any questions, please call us at 1-866-559-0229.
1. Turn autopilot system on. Press the deckmount (on/off switch) on, the deckmount will
blink slowly for 30 seconds during startup. The system will automatically go into standby
mode, and the deckmount will then blink rapidly.
No functions are available during
startup. You will be using the handheld and deckmount switch to enter codes, change, and
save the values of the parameters. Parameters and their values are on the Table of Setup
Codes, (Pages 25-27)
2. Lock to Lock times. Count the number of turns it takes your helm to go from lock to
lock and adjust the parameter of code 26 to match. (Factory default is set at 4.5) The value
of code 26 can be seen in the blink code flashed on the up and down arrow buttons on the
handheld. Press and light up the [Setup] LED , press and light up numbers 2 & 6, [Code
26]. Press and hold the [Select Load] (GPS) button. The number of turns is 1/10th of the
blinked code + 1. Example: if the blinked code is 44 (The up arrow will blink 4 and the
down arrow will blink 4) the number of turns is (44 + 1)/10 = 4.5 turns lock to lock.
3. Helm displacement. The value of [Code 269] should be set to reflect the helm
displacement. (Factory Default is set at 1.7). Press and release [Setup] button. Press and
light up [Code 269] on the handheld. By pressing and holding down the [Select Load]
(GPS) button on the handheld, the up and down arrows will blink to reflect the helm
displacement code. The helm displacement is usually written on the body of the helm
pump. Example: The blinked code for a 1.7 cu in/rev helm would be 16, (the up arrow
blinks once and the down arrow blinks 6) since (16 +1)/10 = 1.7.
4. Verify the direction of steering is correct. Turn the autopilot on and switch from
standby to autopilot. When the right straight arrow turn button is pressed on the handheld
remote, the motor should turn the boat to the right. When the left straight arrow turn
button is pressed on the handheld/remote, the motor should turn the boat to the left. If this
is incorrect use [Code 249] for reversed hoses. Press and release, and light up the [Setup]
LED, press and light up [Code 249] on handheld, if the down arrow is lit, press the up
arrow to reverse hoses. If you change this setting, download changes into permanent
memory by following step 8.
25
