Brother GT-541 Install Procedures - Page 2

Browse online or download pdf Install Procedures for Printer Brother GT-541. Brother GT-541 3 pages. Basic instruction manual - spanish
Also for Brother GT-541: Brochure & Specs (4 pages), Parts Book (48 pages), Brochure & Specs (9 pages), Maintenance And Trouble Clearing (7 pages), Quick Manual (8 pages), Replacing Main Board Battery (5 pages), (Spanish) Basic Instruction Manual (48 pages)
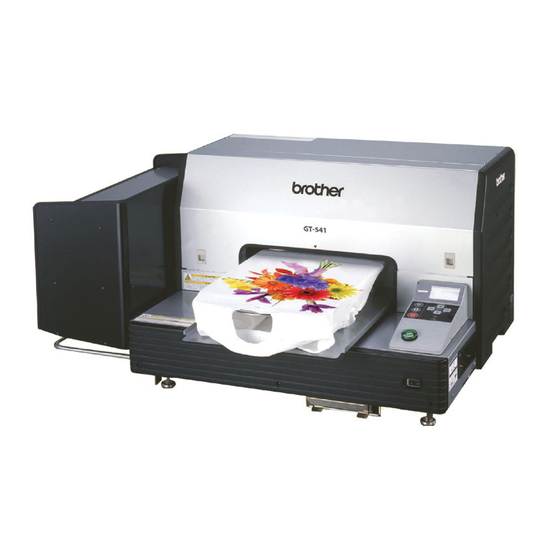
Brother GT-541 Install Procedures
5. Use jig to make sure maintenance station has not shifted during shipping (see
maintenance station adjustment)
6. Install heads
• Use Rubber Gloves
• First 20 machines will come with heads labeled for each color cartridge.
• Hold heads from metal bracket when installing.
• Careful not to drop heads
Clip heads in place after its station in the carriage
Install Ribbon Cable (silver strips to the front)
Install tube
Remove protector plate
7. Install waste cartridge (Remove shipping cardboard insert from tray and
install cartridge from accessories box.
8. Install ink cartridges (Store filter cartridges on printer shelf)
9. Connect power cable – Power up
10. Introduce of Ink
• Go into advance test mode to initialize inks
• Press ▼ to highlight Version
• Press ▼▲ and cancel in this sequence
• Press ▼ to Initial Cleaning and then OK
• When initialize is done back out with enter key or cancel key.
11. Install back cover while the machine is introducing ink; verify customer has
received all other accessories, verify the curing process the customer will be
using is what we recommend.
12. Test Print
• Place 8.5x11 sheet of paper on lower right corner closest to you
• Verify platen height is set to A position
• Press one of the menu button to get into the menu screen
• Press ▼ to highlight Test Print
• Press OK
• Select Nozzle Check
• Press OK
• Watch print
Note: Continue to test print until you get all nozzles to fire, you will
need to purge during this process, follow flow chart from your service
manual for reference.
• Turn off printer