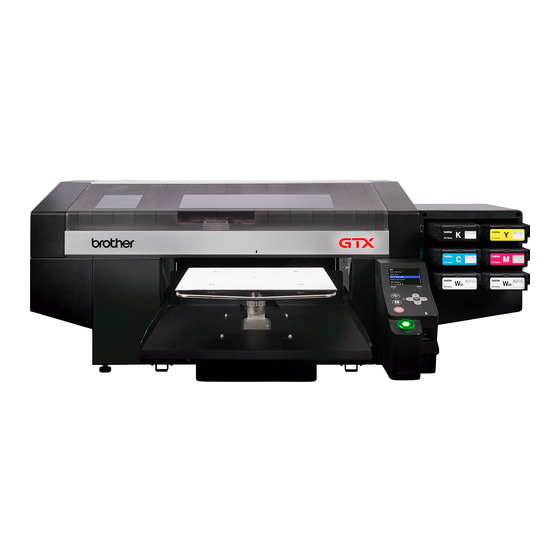
Brother GTX User Reference Manual - Page 5
Browse online or download pdf User Reference Manual for Printer Brother GTX. Brother GTX 16 pages. Step by step photo instructions
Also for Brother GTX: Unpacking Manual (17 pages), Stand Assembly (5 pages)

POUCH REPLACEMENT - VERY IMPORTANT
If you know you're going to print a large order or are low on ink, ensure you have
spare ink on hand. Running the printer dry can damage the unit and keep you from
finishing a job which can lead to costly repairs!
POUCH REPLACEMENT - VERY IMPORTANT
Open the cartridge's lid on a flat surface and remove the empty pouch.
Carefully unpack a new ink pouch from its shipping carton. Avoid wrinkling the pouch.
ute
1'
Push the green tip end of the ink pouch into the cartridge until it clicks into place.
Straighten the ink pouch to align it with the gutters of the of the cartridge lid, and mount in
position inside the metal spring by pulling it with your hand.
(If the edge of the ink pouch is bent or undulating significantly, flatten and straighten it with your hand)
Align the pouch so that it sits in the middle of the cartridge. Close the lid and verify that
the spring is rolling to the front. Raise the cartridge to a 45°angle and push on the two
upper metallic latches to add more tension to the ink pouch.
Attach a shelf life sticker
CLICK
STORED INK
If you are storing white ink for more than one week without use, then you need to
flip over the ink carton weekly to prevent the ink pigments from settling in the pouch.
100
100
included with the ink pouch onto the front of the cartridge.
ALIGN
Agitate the new white ink side to side while
still in the carton before loading it into the
cartridge. New ink should be agitated 100
times on each side. Following this process
will save time as both ink pouches are
agitated at the same time in the carton.
NO WRINKLES
PUSH to ROLL
5
