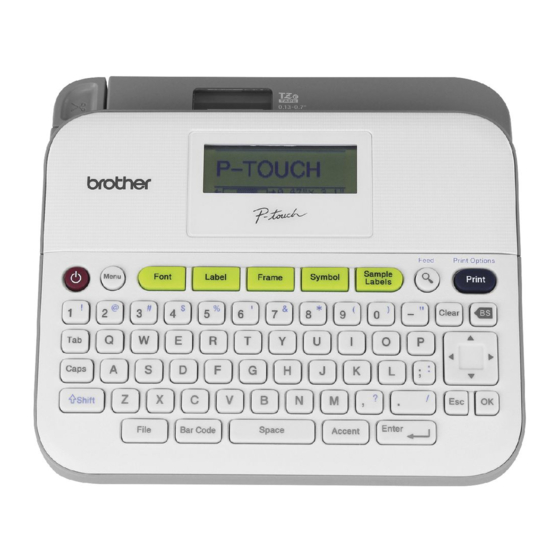
Brother P-Touch D400 User Manual - Page 19
Browse online or download pdf User Manual for Label Maker Brother P-Touch D400. Brother P-Touch D400 33 pages.

Setting Label Attributes ([Length]/[Margin]/[Tab Length])
(Refer to "Adjusting the Label Length" on page 23, "Setting Margin" on
page 21 and "To change tab length:" on page 10.)
(
)
/
Select an attribute
or (
).
NOTE
[Length] can be set within the range 30 mm - 300 mm. When [Auto] is
selected, the length of the label is automatically adjusted based on the
amount of text entered.
Creating a Bar Code Label
NOTE
• The P-touch is not designed exclusively for creating bar code labels.
Always check that bar code labels can be read by the bar code
reader.
• For best results, print bar code labels in black ink on white tape.
Some bar code readers may not be able to read bar code labels
created using coloured tape or ink.
• Use the [Large] setting for [Width] whenever possible. Some bar code
readers may not be able to read bar code labels created using the
[Small] setting.
• Continuously printing a large number of labels with bar codes can
overheat the print head, which may affect printing quality.
Setting Bar Code Parameters and Entering Bar Code Data
(
)
/
[Bar Code Setup]
/
Set a value for that attribute
data
(
)
(
).
NOTE
• Symbols are only available for the CODE39, CODE128, CODABAR
or GS1-128 protocols. When not using symbols, after typing in the
bar code data, press (
• The "C.Digit" (Check Digit) attribute is only available for the CODE39,
I-2/5 and CODABAR protocols.
• Only one bar code can be printed on a label.
(
/
Select a character
) or (
/
Set a value for that attribute
) or (
)
/
(
) or (
)
(
) or (
) to insert the bar code in the label.
Setting Label Attributes ([Length]/[Margin]/[Tab Length])
EDITING A LABEL
(
Select an attribute
Type in the bar code
)
(
) or
)
17
