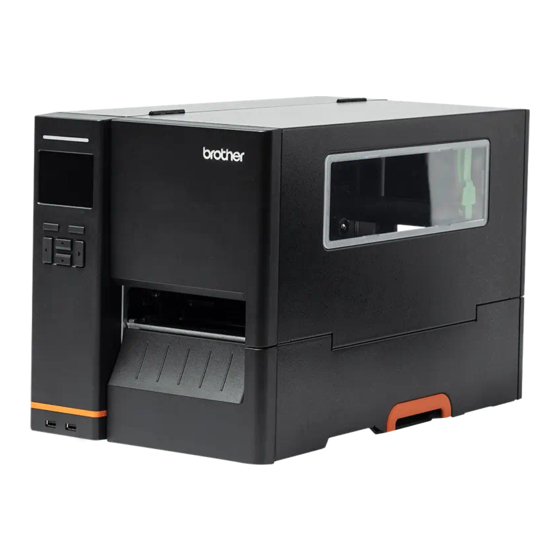
Brother TJ-4620TN Setup Manual
Browse online or download pdf Setup Manual for Label Maker Brother TJ-4620TN. Brother TJ-4620TN 4 pages. Label peeler module

Setup Guide
Label Peeler Module (PA-LP-006)
TJ-4420TN/4520TN/4620TN
NOTE
• Only Authorized Brother Dealers or Certified Technicians should perform
this optional installation.
• For more information about installation and use, contact your local
Brother office.
• Disconnect the printer's AC Power Cord from the AC power outlet (electrical
socket) before installing or removing the Label Peeler to avoid the risk of
electrical shock.
• When installing the Label Peeler, do not twist, severely bend, pinch, or bind
any cords. This may cause damage or malfunction.
• After installation or removal, DO NOT leave tools or hardware inside the label
printer, otherwise an electrical shock may occur, or the machine may get
damaged or destroyed by static electricity.
• DO NOT touch the printer parts with your bare hands as these parts may get
damaged or destroyed by static electricity. Before touching the printer parts,
place the printer on an Electrostatic Discharge (ESD) grounding mat or use
anti-static gloves.
• Make sure not to lose the screws or other small parts during installation.
• DO NOT place the machine on an unstable surface, such as a table or shelf. If
the machine falls, injuries may occur.
Media Guide Bar and Rear Label Guide
For the specific Label Printer part names, see section 2.2 Printer Overview in your
label printer's User's Guide.
A. Install the Label Peeler Module
1. Open the Media Cover.
2. Remove the two Screws and pull out the Lower Front Panel.
3. Remove the two Screws and then remove the Lower Bar.
Ver. 02
