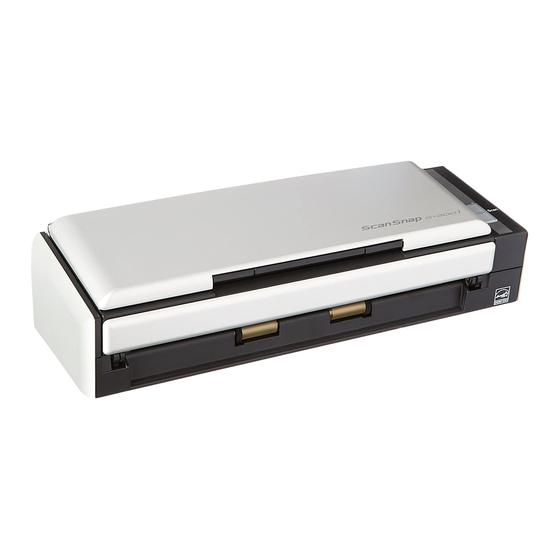
Fujitsu ScanSnap S1300 Getting Started Manual - Page 4
Browse online or download pdf Getting Started Manual for Scanner Fujitsu ScanSnap S1300. Fujitsu ScanSnap S1300 8 pages. Color image scanner
Also for Fujitsu ScanSnap S1300: Brochure & Specs (2 pages), Getting Started Manual (9 pages), Specifications (3 pages), Safety Precautions (9 pages)
Mac OS Installation
This explains how to install ScanSnap software on a
Mac OS (Mac OS X v10.5).
■ Software
You can install the following software. For details
about each software, refer to "Installing the Software"
in the Operator's Guide.
ScanSnap Manager (Scanner driver)
ABBYY FineReader for ScanSnap (OCR
software)
Cardiris (Business card text-recognized software)
■ System Requirements
Mac OS X v10.6 (*2)
Operating
Mac OS X v10.5
system (*1)
Mac OS X v10.4
®
Intel
Core™2 Duo 2.4 GHz or higher
recommended
CPU
(Minimum: Intel
PowerPC G5 1.6 GHz)
Mac OS X v10.6
1 GB or more
Mac OS X v10.5
Memory
Mac OS X v10.4
512 MB or more
(1 GB or more recommended)
Display
1024 × 768 pixels or higher
resolution
Hard disk
1.32 GB or more of free hard disk space
space
*1: It is recommended to apply the latest updates to Mac
OS.
*2: Rosetta must be installed to use Cardiris. You can
install Rosetta from the [Optional Installs] package on
the Mac OS X installation disk.
If the CPU and the memory do not meet the
required specifications, scanning speed will slow
down.
Prepare the Setup DVD-ROM.
1.
Turn your computer on and log on as a
user with Administrator privileges.
2.
Insert the Setup DVD-ROM into the DVD-
ROM drive.
The [ScanSnap] window appears.
®
Core™ Duo 1.83 GHz,
3.
Double-click the [ScanSnap] icon.
A confirmation message window appears.
4.
Click the [Continue] button.
The [Welcome to the ScanSnap Installer]
window appears.
5.
Click the [Continue] button.
The [Important Information] window appears.
6.
Read the "Important Information", then
click the [Continue] button.
The [Software License Agreement] window
appears.
7.
Read the "Software License Agreement",
then click the [Continue] button.
A confirmation message window appears.
8.
To accept the agreement, click the [Agree]
button.
The [Standard Install on "(volume_name)"]
window appears.
9.
Click the [Install] button.
4