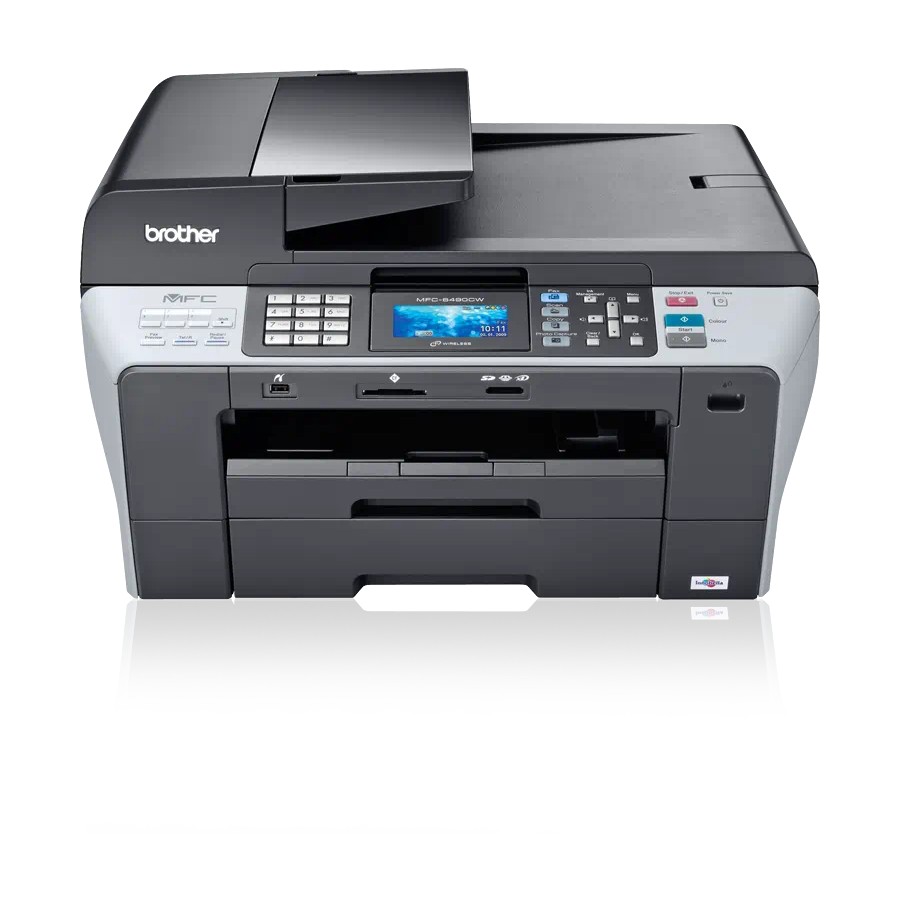
Brother MFC 6490CW - Color Inkjet - All-in-One Connection Manual - Page 5
Browse online or download pdf Connection Manual for Software Brother MFC 6490CW - Color Inkjet - All-in-One. Brother MFC 6490CW - Color Inkjet - All-in-One 6 pages. Quick setup guide - spanish
Also for Brother MFC 6490CW - Color Inkjet - All-in-One: Brochure & Specs (9 pages), Quick Setup Manual (48 pages), Quick Setup Manual (48 pages), Setup & Installation (5 pages), (Spanish) Guía De Configuración Rápida (48 pages)

MFC6490CW Vista Network Connection Repair Instructions
c.
Press 1 (YES) to apply your settings. Go to step 13.
13. Your machine will now try to connect to your wireless network using the information you have
entered. If successful, CONNECTED will appear on the LCD. If CONNECTION FAILED is displayed then
the print server has not successfully connected to your router or access point. Verify your Network
Settings in step 1 and try connecting from step 2 again. You may need to contact your router
manufacturer or network admin to verify these settings.
14. Once the machine is connected the machine will automatically acquire the correct TCP/IP address
information from your access point (router) if DHCP is enabled (DHCP is normally enabled as default
for most access point routers). Continue to the steps below to install the drivers on your computer.
PART 8: UNINSTALL AND REINSTALL THE BROTHER DRIVERS
1. On the computer click on WINDOWS/START -> (ALL) PROGRAMS -> BROTHER -> XXX-XXXX (Where
X is the model of your Brother machine) -> UNINSTALL.
Note: If the software is not installed, go to step 4.
2. When asked to confirm that you want to completely remove the software, click OK.
3. When the uninstall is complete, you will be prompted to restart the computer. Click YES.
4. Once the computer restarts, insert the supplied CD-ROM for Windows into your CD-ROM drive. If
prompted, select your language and model. If the disc does not automatically run, go to
WINDOWS/START -> COMPUTER and double click on the MFL-PRO icon.
5. The CD-ROM main menu will appear.
6. Click INITIAL INSTALLATION
a. If the software was never installed, or you do not have PaperPort click INSTALL MFL-PRO
SUITE. Continue to Step 7.
b. If the software was previously installed or you already have PaperPort, click on MFL-PRO
SUITE WITHOUT PAPERPORT(TM) 11SE. Go to Step 9.
7. After reading and accepting the ScanSoft PaperPort SE License Agreement, click YES if you agree to
the terms.
8. The installation of PaperPort SE will automatically start and is followed by the installation of MFL-Pro
Suite.
9. When the Brother MFL-Pro Suite Software License Agreement window appears, click YES if you agree
to the Software License Agreement.
10. Choose WIRELESS NETWORK CONNECTION and click NEXT.
11. Click on the CHECKED AND CONFIRMED box and then click NEXT.
12. For Windows XP SP2 or greater and Windows Vista Windows Firewall Users: If a firewall is detected,
choose CHANGE THE FIREWALL PORT SETTINGS TO ENABLE NETWORK CONNECTION AND
CONTINUE WITH THE INSTALLATION (RECOMMENDED). Then click NEXT.
13. a. If the Brother machine is the only network-printing device found on the network the installation of
the Brother drivers will automatically start. If there is more than one network-printing device found
you will be asked to select your model machine from the list and then click NEXT.
b. If the Brother machine is not yet configured for use on your network, a window will appear
stating: Find un-configured Device. Click OK. The Configure IP Address window will appear. Choose
SPECIFY YOUR MACHINE BY ADDRESS (ADVANCED USERS), and enter the IP address information
appropriate to your network, then click NEXT. If you are not certain what information to enter you
should contact your network administrator.
5
© 1995 - 2010 Brother International Corporation
www.brother-usa.com
