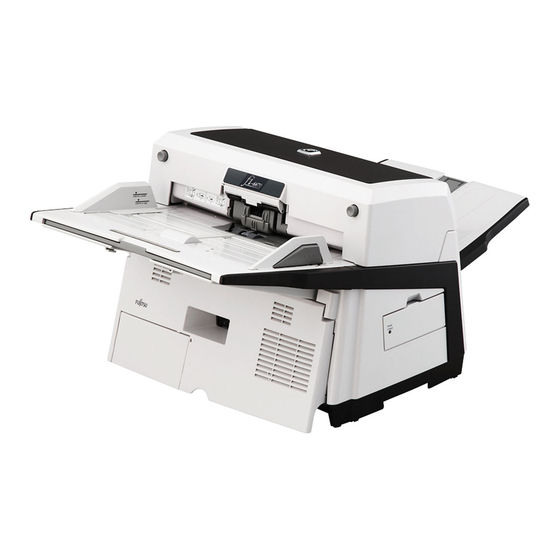
Fujitsu fi-6670 Series Getting Started Manual - Page 16
Browse online or download pdf Getting Started Manual for Printer Fujitsu fi-6670 Series. Fujitsu fi-6670 Series 26 pages. Image scanner
Also for Fujitsu fi-6670 Series: User Manual (26 pages), Installation Procedures Manual (6 pages), Brochure (2 pages), Specifications (2 pages), Getting Started Manual (14 pages), Consumable Replacement And Cleaning Instructions (22 pages)

1
Make sure that the computer is turned OFF.
2
Open the Cable Cover (ADF type only).
3
Connect the scanner to your computer either with a USB or SCSI cable.
• You cannot make both USB and SCSI cable connections at the same time.
• You cannot connect multiple computers to the scanner at the same time.
• Turn off the scanner and your computer first when you switch the interface cable.
The following describes the requirements for connecting with the respective cables.
■
USB cable
• Be sure to use the USB cable which comes as an accessory with this scanner.
• When connecting to an USB hub, use the first stage USB hub that is closest to the computer. If you use
the second or later hub stages, the scanner may not operate correctly.
• If you connect the scanner with USB 2.0, it is required that the USB port and the Hub be compliant with
USB 2.0. The scanning speed slows down when you connect the scanner with USB 1.1.
■
SCSI cable
Be careful not to damage any pins of the SCSI connector when connecting the scanner to
your computer.
• When using the scanner with a SCSI interface, the following types of SCSI cable and SCSI card must
be purchased.
• SCSI cable:
Use a SCSI cable whose connector on the computer side mates to the connector on the SCSI card
installed on your computer.
On the scanner side, use a 50-pin high-density type SCSI cable.
• SCSI card:
Find the recommended SCSI card information on the Fujitsu website (FAQ):
http://www.fujitsu.com/global/support/computing/peripheral/scanners/scsi/
• In a SCSI daisy chain formation, connect the scanner so that it is the terminated device.
• The SCSI ID initially set at the factory is [5]. If the SCSI ID of another SCSI device is set to the same ID,
change the scanner's SCSI ID to [0] through [7].
4
Connect the Power cable to the Power Connector of your scanner and to the
power outlet.
ARNI N G
5
Close the Cable Cover (ADF type only).
Let the cables out from the side slots of the scanner.
Be sure to use the supplied power cable. Use of other power cables may cause
electrical shock or malfunction.
Do not use the supplied power cable for other products. Doing so may cause
electrical shock or malfunction.
16
