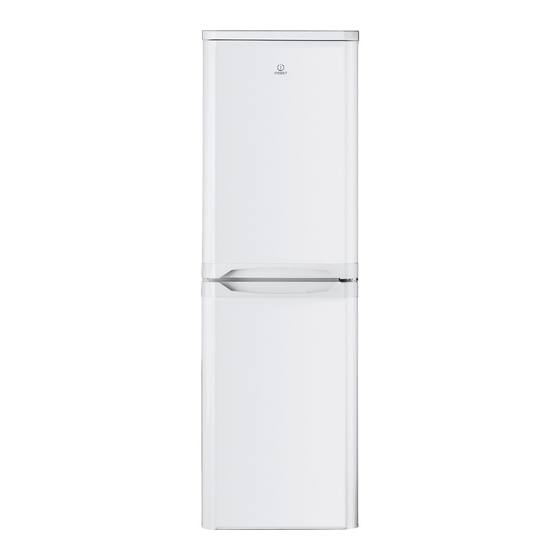
Indesit CA55SUK Service Information - Page 11
Browse online or download pdf Service Information for Refrigerator Indesit CA55SUK. Indesit CA55SUK 13 pages. Freestanding fridge freezer

- 1. Health and Safety
- 2. Table of Contents
- 3. Index & Serial Number / Industrial Code Format
- 4. Ca55Uk
- 5. Introduction
- 6. Ca55Kuk
- 7. Specifications
- 8. Detailed View
- 9. Component Details
- 10. Servicing & Dismantling Instructions
- 11. Door Reversal Instructions
- 12. Door Seal Replacement
- 13. Theoretical Wiring Diagram
Indesit
Company
DOOR REVERSAL
Important Notes for Guidance:
Before commencing any work refer to the Safety Notes at the beginning of this manual.
Read the instructions below fully and refer to the diagrams before carrying out the door reversal.
Caution:
When carrying out the following procedures care must be taken to protect the appliance and the customers
property, especially if the appliance is moved or laid down.
Before laying the appliance down, it must be cleared of food and furniture.
It must not be tilted or supported against a wall or similar structure.
The Grip Mat, Part number C00222890 (5700072), must always be used as directed when laying an
appliance down on its back to reduce appliance movement.
Removing the Doors
1.
Lay the appliance on its back.
2.
Unscrew, remove and retain the bottom hinge.
3.
Slightly open the bottom door and slide downwards, remove and carefully place to one side.
4.
Remove the centre hinge and spacer if
fitted. Slightly open the top door and
slide downwards, remove and carefully
place to one side.
5.
Unscrew and remove the top front cover
from the cabinet.
6.
Unscrew and remove the hinge pin and
the bolt from the top right hand and refit
into the hole in the left hand side.
Refit the top front cover.
7.
Use a thin blunt instrument to remove
the top and bottom hinge bushes and
blanking plugs from the doors, taking
care not to mark the door handle. Reposition the blanking plugs and bushes on the opposite side.
8.
Fit the blanking plugs provided with the appliance into the right hand two centre holes.
Replacing the Doors
1.
If the holes are not present on the left hand side for the centre hinge, carefully position and drill two 3
mm pilot holes guided by the indented markings on the centre transom. Ensure that the drill bit does
not run too deeply into the appliance.
2.
Slide the top door upwards and locate the top
hinge into the door bush. Reposition the centre
hinge on the opposite side.
3.
Carefully slide the bottom door upwards into the
centre hinge pin.
4.
Unscrew the bottom hinge pin and refit it on the
opposite side.
5.
Fit the bottom hinge making sure that the door is
aligned to the cabinet.
6.
Carefully stand the appliance upright in its
required location and make sure it is sitting level
on the floor. Open and close the doors checking
that the gasket makes a good seal without any
gaps when the doors are closed.
Note: Replace loose items/fittings back into the appliance and leave for at least 15 minutes before
switching back on.
Service Manual UK
5
6
7
1
11 of 13
4
3
1
8
2
3
4
5
English
2
