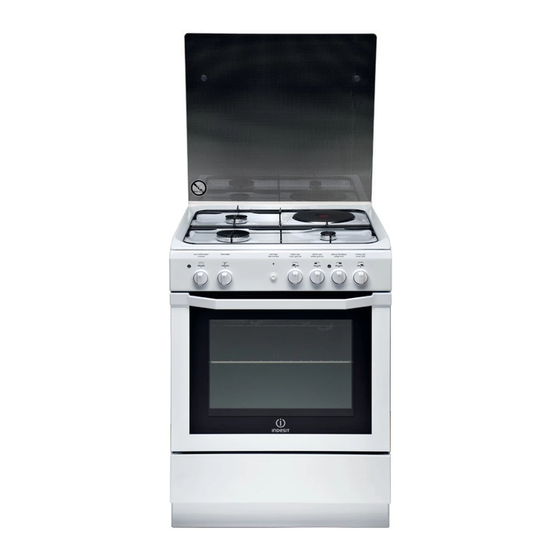
Indesit I6M6CAG/FR Operating Instructions Manual - Page 20
Browse online or download pdf Operating Instructions Manual for Cookers Indesit I6M6CAG/FR. Indesit I6M6CAG/FR 48 pages. Cooker and oven

between two cupboards), the flexible steel hose must
GB
be used instead (see below).
Connecting a flexible jointless stainless steel pipe to
a threaded attachment
Make sure that the hose and gaskets comply with current
national legislation.
To begin using the hose, remove the hose holder on the
appliance (the gas supply inlet on the appliance is a
cylindrical threaded 1/2 gas male attachment).
! Perform the connection in such a way that the hose
length does not exceed a maximum of 2 metres, making
sure that the hose is not compressed and does not come
into contact with moving parts.
Checking the tightness of the connection
When the installation process is complete, check the
hose fittings for leaks using a soapy solution. Never use
a flame.
Adapting to different types of gas
It is possible to adapt the appliance to a type of gas
slide the burners off their seats.
2. Unscrew the nozzles using a 7 mm socket spanner
(see fi gure), and replace them with nozzles suited to the
new type of gas (see Burner and nozzle specifi cations table).
3. Replace all the components by following the above
instructions in reverse.
Adjusting the hob burners' minimum setting:
1. Turn the tap to the minimum position.
2. Remove the knob and adjust the regulatory screw,
which is positioned inside or next to the tap pin, until the
flame is small but steady.
! If the appliance is connected to a liquid gas supply, the
regulatory screw must be fastened as tightly as possible.
20
other than the default type (this
is indicated on the rating label on
the cover).
Adapting the hob
Replacing the nozzles for the hob
burners:
1. Remove the hob grids and
3. While the burner is alight, quickly change the position of the
knob from minimum to maximum and vice versa several times,
checking that the flame is not extinguished.
! The hob burners do not require primary air adjustment.
Safety Chain
! In order to prevent accidental tipping of the appliance, for
example by a child climbing onto the oven door, the supplied
safety chain MUST be installed!
The cooker is fi tted with a safety chain to be fi xed by means
of a screw (not supplied with the cooker) to the wall behind
the appliance, at the same height as the chain is attached
to the appliance.
Choose the screw and the screw anchor according to the
type of material of the wall behind the appliance. If the head
of the screw has a diameter smaller than 9mm, a washer
should be used. Concrete wall requires the screw of at least
8mm of diameter, and 60mm of length.
Ensure that the chain is fi xed to the rear wall of the cooker
and to the wall, as shown in fi gure, so that after installation
It is tensioned and parallel to the ground level.
