AEG DD 8795 Operating And Installation Instructions - Page 6
Browse online or download pdf Operating And Installation Instructions for Ventilation Hood AEG DD 8795. AEG DD 8795 18 pages. Electrolux cooker hood range hood models dd 8794 dd 8795 chdd 8795 operating and installation instructions
Also for AEG DD 8795: Operating And Installation Manual (17 pages), Operating And Installation Manual (22 pages), Operating And Installation Instructions (20 pages), Operating And Installation Instructions (22 pages)

Control Panel
• Best results are obtained by using a low speed for normal conditions
and a high speed when odours are more concentrated.
Turn the hood on a few minutes before you start cooking, you will
then get an under pressure in the kitchen. The hood should be left on
after cooking for about 15 minutes or until all the odours have
disappeared.
• The hood operation can be controlled via the control ball or with the
remote control (the remote control is a special accessory and is
ordered separately).
Every change (changing speed, switching on the lights, etc.) is
recognizable from the variation of light emitted by the control ball and
by an acoustic signal.
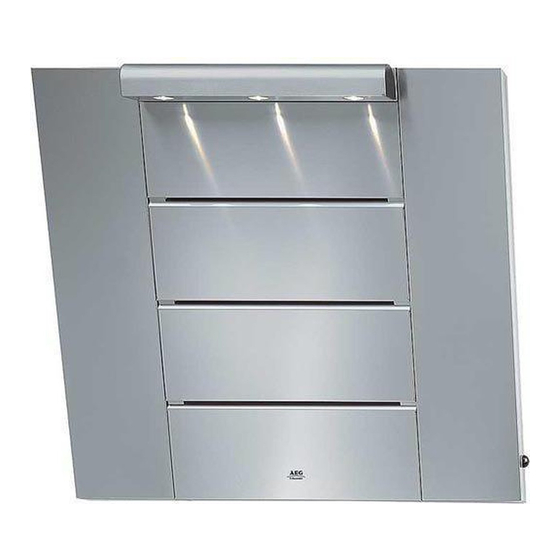
The control ball is located below on the right side of the cooker hood.
The control ball is also a light signal :
• No signal :
The hood is switched off.
• Static green light :
Hood is switched on at power level 1 (minimum).
• Static orange light :
Hood is switched on at power level 2 (medium).
• Static red light :
Hood is switched on at power level 3 (maximum).
• Flashing red light :
Hood is switched on at intensive power level (timed at 5 minutes)
• Flashing green light :
Indicates the grease filter saturation - clean the grease filter
• Flashing orange light :
Indicates the charcoal filter saturation - clean or replace the
charcoal filter.
Attention!
The control ball flashes orange to indicate the saturation of the
charcoal filter even if the hood is used in the extractor version and no
charcoal filter is fitted.
In this case, perform the signal reset operation as follows: select the
intensive speed (the control ball lights up with a red flashing light),
depress again and hold depressed for about 3 seconds until an
audible signal indicates the reset has taken place.
57
