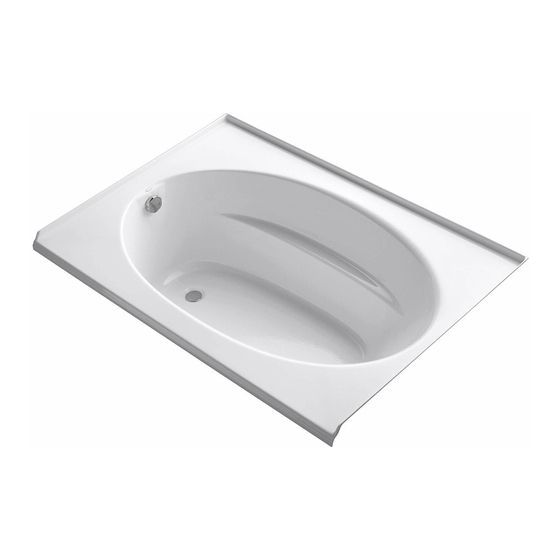
Kohler K-1147 Installation Manual - Page 6
Browse online or download pdf Installation Manual for Bathtubs Kohler K-1147. Kohler K-1147 25 pages. Drop-in acrylic baths
Also for Kohler K-1147: Installation And Care Manual (29 pages), Installation And Care Manual (25 pages)

4" (10.2 cm)
Measure, cut, and drill a piece of 1/2" (1.3 cm)
exterior grade plywood 4" (10.2 cm) x 11-1/2"
(29.2 cm) for the K-1227, or 4" (10.2 cm) x 15-1/2"
(39.4 cm) for the K-1332.
5. Prepare the Faucet Installation – Models K-1227 and K-1232 Only
NOTE: K-1232 will accept faucets with either 4" (10.2 cm) or 6" (15.2 cm) centers. K-1227 will only accept
faucets with 4" (10.2 cm) centers. A typical 4" (10.2 cm) centerset faucet roughing-in is shown in the
illustration.
Measure and cut a piece of 1/2" (1.3 cm) exterior grade plywood to act as a support for the faucets.
For K-1277, cut a 4" (10.2 cm) x 11-1/2" (29.2 cm) piece. For K-1232, cut a 4" (10.2 cm) x 15-1/2"
(39.4 cm) piece.
Position the faucet in the center of the flat area on the bath rim. Refer to the faucet manufacturer's
instructions.
Mark the faucet centerlines for drilling with a pencil. Do not drill at this time.
CAUTION: Risk of product damage. To avoid damage to the bath, position a thin piece of cardboard
on the finished surface of the bath and under the clamps before tightening the clamps.
Make sure the clamps do not make direct contact with the finished surface of the bath.
Place a thin piece of cardboard on the finished surface of the bath rim.
Position the plywood on the underside of the bath rim, then clamp the plywood into place. Make
sure the clamps do not make direct contact with the finished surface of the bath.
Refer to the installation instructions packed with the faucet to determine faucet hole size.
Carefully drill the faucet holes.
6. Install the Plumbing
CAUTION: Risk of personal injury. Bath rim-mounted faucets that may be inadvertently used as a
means of support are not appropriate or safe for this installation.
CAUTION: Risk of property damage. Make sure a watertight seal exists on all bath drain connections.
NOTE: Provide access to all plumbing connections to simplify future maintenance.
Connect the trap to the drain according to the drain manufacturer's instructions.
Install the faucet valving according to the faucet manufacturer's instructions. Do not install the
faucet trim at this time.
Open the hot and cold water supplies and check all connections for leaks.
Run water into the bath and check the drain connections for leaks.
Fill the bath to the overflow and check for leaks.
1023730-2-F
Install the faucet to the rim and plywood according to
the faucet manufacturer's instructions.
6
Bath Rim
Kohler Co.
