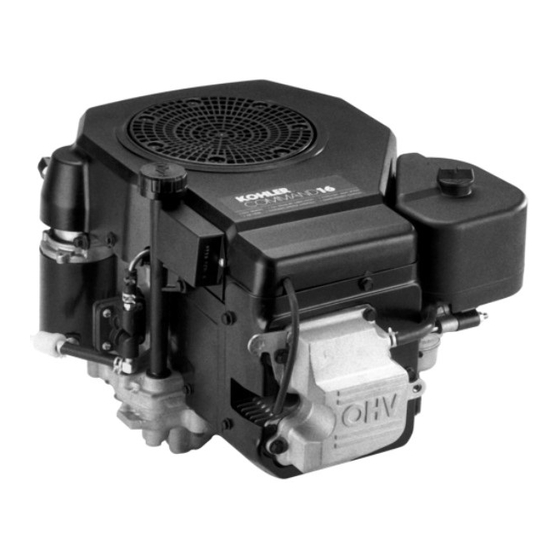
Kohler COMMAND CV460 Owner's Manual - Page 10
Browse online or download pdf Owner's Manual for Engine Kohler COMMAND CV460. Kohler COMMAND CV460 17 pages. Vertical crankshaft
Also for Kohler COMMAND CV460: Owner's Manual (16 pages), Owner's Manual (16 pages)

Change Oil Filter
Replace the oil filter at least every other oil change
(every 200 hours of operation). Always use a
genuine Kohler oil filter, Part No. 52 050 02-S.
Replace the oil filter as follows:
1. Drain the oil from the engine crankcase.
2. Remove the oil filter drain plug located at the base
of the oil filter adapter (if so equipped). Allow the
oil filter to drain.
3. Remove the old filter and wipe off the filter
adapter. Reinstall the oil filter drain plug (if so
equipped).
4. Place a new replacement filter in a shallow pan
with the open end up. Pour new oil of the proper
type, in through the threaded center hole. Stop
pouring when the oil reaches the bottom of the
threads. Allow a minute or two for the oil to be
absorbed by the filter material.
5. Apply a thin film of clean oil to the rubber gasket
on the new filter.
6. Install the replacement oil filter to the filter adapter.
Turn the oil filter clockwise until the rubber gasket
contacts the filter adapter, then tighten the filter an
additional 2/3 to 1 turn.
7. Fill the crankcase with new oil of the proper type,
to the "F" mark on the dipstick.
8. Test run the engine to check for leaks. Stop the
engine, allow a minute for the oil to drain down,
and recheck the level on the dipstick. Add more
oil, as necessary, so the oil level is up to but not
over the "F" mark on the dipstick.
Service Precleaner and Air Cleaner Element
This engine is equipped with a replaceable, high
density paper air cleaner element. Most engines are
also equipped with an oiled, foam precleaner which
surrounds the paper element. See Figure 9.
Check the air cleaner daily or before starting the
engine. Check for a buildup of dirt and debris around
the air cleaner system. Keep this area clean. Also
check for loose or damaged components. Replace all
bent or damaged air cleaner components.
NOTE: Operating the engine with loose or damaged
air cleaner components could allow unfiltered
air into the engine causing premature wear
and failure.
10
Air Cleaner
Cover
w/Knob
Air Cleaner
Element
Screw (2)
Gasket
Figure 9. Air Cleaner Assembly – Exploded View.
Service Precleaner
Wash and reoil the precleaner every 25 hours of
operation, if equipped, (more often under extremely
dusty or dirty conditions).
1. Loosen the air cleaner cover knob and remove the
cover.
2. Remove the precleaner from the paper element.
3. Wash the precleaner in warm water with
detergent. Rinse the precleaner thoroughly until all
traces of detergent are eliminated. Squeeze out
excess water (do not wring). Allow the precleaner
to air dry.
4. Saturate the precleaner with new engine oil.
Squeeze out all excess oil.
5. Reinstall the precleaner over the paper element.
6. Reinstall the air cleaner cover and tighten the
knob securely.
Foam
Precleaner
Wing Nut with
Locking Material
Seal
Stud
Air Cleaner Base
