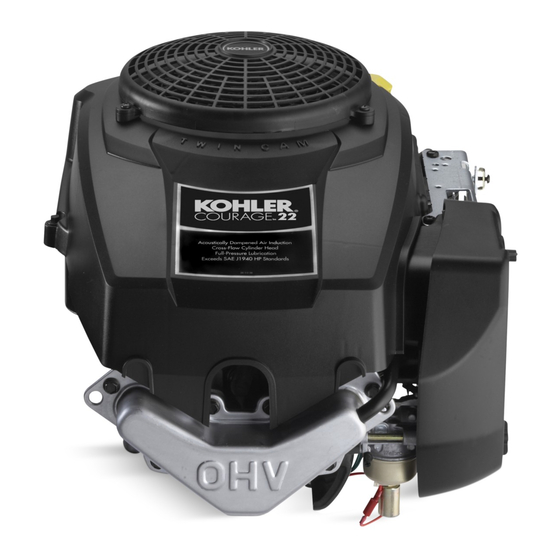
Kohler Courage SV600 Owner's Manual - Page 11
Browse online or download pdf Owner's Manual for Engine Kohler Courage SV600. Kohler Courage SV600 17 pages. Courage series vertical crankshaft
Also for Kohler Courage SV600: Owner's Manual (17 pages), Owner's Manual (17 pages), Owner's Manual (48 pages)

Figure 11. Installing Air Cleaner Element.
Clean Air Intake/Cooling Areas
To ensure proper cooling, make sure the grass screen,
cooling fins, and other external surfaces of the engine
are kept clean at all times.
Annually or every 100 hours of operation (more often
under extremely dusty, dirty conditions), remove
the blower housing and any other cooling shrouds.
Clean the cooling fins and external surfaces as
necessary. Make sure the cooling shrouds are
reinstalled. Torque the blower housing screws to
7.5 N·m (65 in. lb.).
NOTE: Operating the engine with a blocked grass
screen, dirty or plugged cooling fins, and/or
cooling shrouds removed, will cause engine
damage due to overheating.
Ignition System
This engine is equipped with a dependable electronic
CD ignition system. Other than periodically checking/
replacing the spark plug, no maintenance, timing, or
adjustments are necessary or possible with this
system.
In the event starting problems should occur which are
not corrected by replacing the spark plug, see your
Kohler Engine Service Dealer for trouble analysis.
Check Spark Plug
Every 2 years or 200 hours of operation, remove the
spark plug, check condition, and reset the gap or
replace with a new plug as necessary. The standard
spark plug is a Champion
12 132 02-S). RFI compliant engines use a Champion
QC12YC (Kohler Part No. 20 132 02-S) spark plug. A
high-performance spark plug, Champion
3071 (Kohler Part No. 25 132 12-S) is also available.
Equivalent alternate brand plugs can also be used.
Spark plug replacement is recommended at 500 hours.
1. Before removing the spark plug, clean the area
around the base of the plug to keep dirt and
debris out of the engine.
®
RC12YC (Kohler Part No.
®
Platinum
Due to the deep recess around the spark plug,
blowing out the cavity with compressed air is
usually the most effective method for cleaning.
The spark plug is most accessible when the
blower housing is removed for cleaning.
2. Remove the plug and check its condition. Replace
the plug if worn or reuse is questionable.
NOTE: Do not clean the spark plug in a machine
using abrasive grit. Some grit could
remain in the spark plug and enter the
engine causing extensive wear and
damage.
3. Check the gap using a wire feeler gauge. Adjust
the gap by carefully bending the ground
electrode. See Figure 12. Gap plugs to 0.76 mm
(0.030 in.).
4. Reinstall the spark plug into the cylinder head.
Torque the spark plug to 24-30 N·m (18-22 ft. lb.).
5. Reconnect the spark plug lead and reinstall the
blower housing, if removed previously. Torque
the blower housing screws to 7.5 N·m (65 in. lb.).
Wire Gauge
Spark Plug
Ground
Electrode
Figure 12. Servicing Spark Plug.
Battery Charging
WARNING: Explosive Gas!
Batteries produce explosive hydrogen gas while being charged.
To prevent a fire or explosion, charge batteries only in well
ventilated areas. Keep sparks, open flames, and other sources of
®
ignition away from the battery at all times. Keep batteries out of
the reach of children. Remove all jewelry when servicing
batteries.
Before disconnecting the negative (-) ground cable, make sure all
switches are OFF. If ON, a spark will occur at the ground cable
terminal which could cause an explosion if hydrogen gas or
gasoline vapors are present.
0.76 mm
(0.030 in. )
Gap
11
