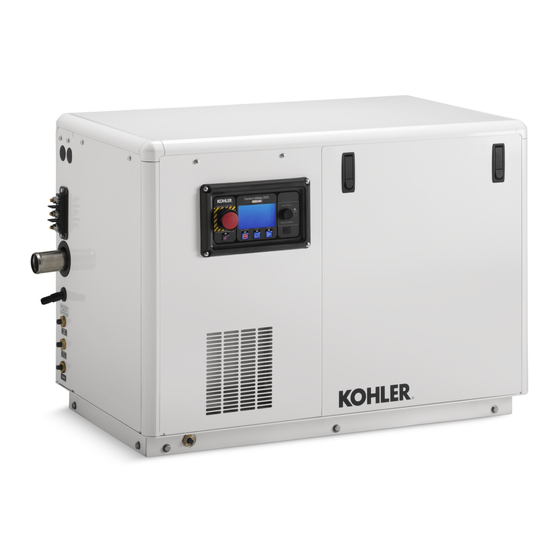
Kohler 11EFKOZD Installation Instructions Manual - Page 3
Browse online or download pdf Installation Instructions Manual for Portable Generator Kohler 11EFKOZD. Kohler 11EFKOZD 8 pages.
Also for Kohler 11EFKOZD: Installation Instructions Manual (12 pages)

3.4
Secure the molded hose (276206) to the existing
elbow on the exhaust mixer using an existing hose
clamp. See Figure 7.
Note: Cut hose to fit.
3.5
Secure the other end of the molded hose to the
existing tee/pressure switch assembly using an
existing hose clamp.
3.6
Secure the molded hose (276206) to the
tee/pressure switch assembly using an existing
hose clamp.
Note: Cut hose to fit.
3.7
Route the other end of the molded hose to the left
hole in the sound shield's customer connection
panel. Secure the hose with an existing hose
clamp.
3.8
Secure the hose (X-312-51) to the heat exchanger
end cap. Secure the hose using a hose clamp
(X-426-12). See Figure 7.
3.9
Route the hose from the heat exchanger end cap to
the right hole in the sound shield's customer
connection panel. Secure the hose with a hose
clamp (X-426-12).
Note: Because of the variety of possible
installations, this kit does not include
hoses to connect to the siphon break. See
Figure 5 for an ID-size hose selection.
Use coolant hoses (SAE 20R1, class B or
equivalent) and hoses suitable for marine
use. Use corrosion-resistant or stainless
steel hose clamps on all fittings.
Kit Number
ID-Size Hose, mm (in.)
GM94002-KP1
15.9 (5/8) or 19 (3/4)
Figure 5 Hose Selection
3.10 Determine the required length of hose from each
hose connector to the siphon break. Cut two
pieces of the customer-supplied hose to the
determined length. See Figure 8.
Note: The siphon break must be at least 30 cm
(12 in.)
above the waterline during
maximum load and generator shutdown
condition.
3.11 Use the customer-supplied hose clamps to
connect the hoses to the hose connectors. Locate
the hose clamps 12.7 mm (1/2 in.) from each end
of the hose and tighten the clamps. See Figure 8.
TT-1664
6/15
3.12 Use customer-supplied hose clamps to connect
the siphon break (GM32985) to the hoses. Locate
the hose clamps 12.7 mm (1/2 in.) from each end
of the hose and tighten the clamps.
3.13 Mount the siphon break to the engine stringer or
other rigid structure. Keep the siphon break reed
valve in a vertical position.
Note: Correct functioning of the reed valve
requires
Locate the top of the siphon break (reed
valve) away from possible accumulated
dirt and other contaminants.
Note: To prevent water leakage on the generator
set, do not mount the siphon break over
the generator set.
3.14 Connect
the
clear
(GM34883) to the siphon break cap using a hose
clamp (X-426-9) to secure. Route the tubing to a
convenient location. This allows the seawater to
drip into the bilge and not on the generator set.
3.15 Siphon break mounting varies with each
application. Generally, use brass or stainless
steel screws and mount the siphon break using
the mounting tabs.
(conduit-type) pipe clamp.
Note: Mount the siphon break in a location easily
accessable for inspection and servicing.
Note: Ensure that the siphon break cap is tight
before operating the generator set.
4.
Restore the generator set to service.
4.1
Check that the generator set is OFF.
4.2
Reconnect the generator set engine starting
battery, the negative (--) lead last.
4.3
Reconnect the power to the battery charger, if
equipped.
4.4
Start the generator set and check for water leaks.
4.5
Stop the generator set.
4.6
Replace the sound shield's door and roof.
clean
operating
conditions.
flexible
plastic
Otherwise, use a nylon
tubing
3
