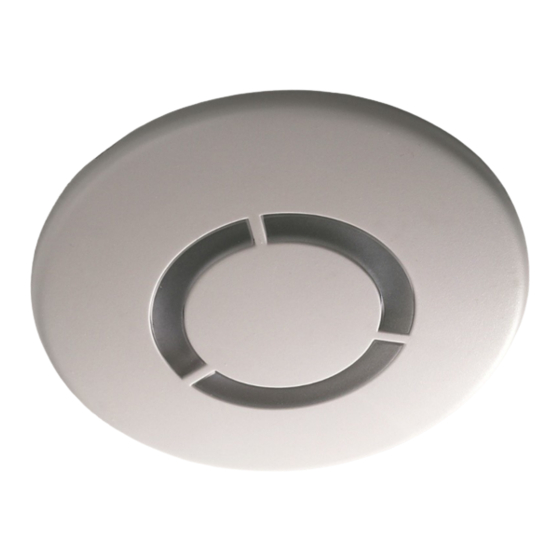
CP Electronics MWS6-PRM-L3 Product Manual - Page 5
Browse online or download pdf Product Manual for Security Sensors CP Electronics MWS6-PRM-L3. CP Electronics MWS6-PRM-L3 8 pages. Ceiling microwave detector with 3m pre-wired lead

Parameter
Default
0
Name
Value
SHIFT 1
On
On
Off
Off
Walk test
Off
On
Time Out
20 mins
1, 10 &
(Time
20
adjustment)
minutes
Lux on
9
2, 5 & 7
level
(Switch
level on)
Lux off
9
2, 5 & 7
level
(Switch
level off)
Sensitivity
9
1, 5 & 9
Defaults
Shift
Fault finding
What if the load does not turn ON?
•
Check that the live supply to the circuit is good.
•
Check that the load is functioning by bypassing the sensor (e.g. link terminals L and L/ Out on Channel1).
•
If the detection range is smaller than expected, check the diagram on page 2. Rotating the sensor slightly may
improve the detection range. If still reduced it may be compromised by the ceiling construction / material. Add the
supplied 20mm spacer ring. See page 4 for fitting details.
HINT: The Walk Test LED function can be used to check that the unit is detecting movement in the required area.
What if the load does not turn OFF?
•
Ensure that the area is left unoccupied for longer than the Time Out Period.
•
Make sure that the sensor is not adjacent to vibrating surfaces or objects (e.g. ventilation equipment).
•
The unit may pick up movement through glass, thin partitions or walls. Reduce the sensitivity.
The functionality of the MWS6-PRM-L3 is controlled by a number of parameters which can
be changed or programmed by any of the following devices:
•
UHS5 Infrared Handset. See below for programmable functions.
•
UNLCDHS Infrared Handset (with LCD). See user guide for full programming details.
For most basic programming operations the UHS5 handset can be used and the following procedures
are based on using this device.
Point the handset at the Sensor and send the required programming commands to the unit as shown
below.
Valid commands will be indicated by a red LED flash. See page 1 for details of other LED responses.
Note: other functions on the UHS5 which are not shown below are not applicable to this product.
Number of Shift key presses
1
2
3
SHIFT 2
SHIFT 1
SHIFT 2
SHIFT 1
SHIFT 2
SHIFT 1
Button Activation
Off
5, 15 &
10
30
seconds
minutes
4, 6 & 9
4, 6 & 9
3, 6 & 8
D
UHS5 Handset Graphics
SHIFT 2
Basic programming
Description
Turn lights on.
Turn lights off.
When set to On this causes a red LED to flash on
the sensor when it detects movement. Use this
feature to check for adequate sensitivity levels.
Once the detector is turned on, this value sets
how long the lights will stay on once movement
has ceased.
Lux level setting to prevent the luminaires being
switched on if the ambient light level is sufficient
(adjustable between 1 and 9). The luminaires will
always be switched on at level 9.
Lux level setting to switch the luminaires off during
occupancy if the ambient light level goes above
the setting (adjustable between 1 and 9). Level 9
will always keep the lights on. This setting can be
used for "window row switching".
Note: the Lux Off Level value must always be
greater than the Lux On Level value.
Sensitivity level for detecting movement.
1 = low sensitivity
9 = high sensitivity
Returns the unit to the default settings.
Use this button to select the settings in red and
blue signified by the 'Shift 1' and 'Shift 2' LEDs
5
