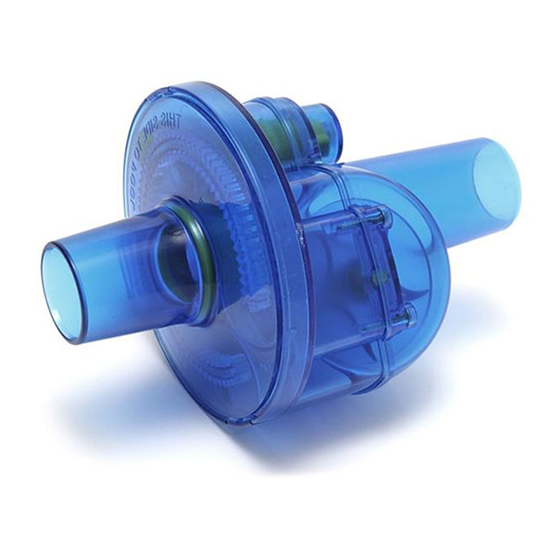
Aqua Quip Twister Installation & Owner's Manual
Browse online or download pdf Installation & Owner's Manual for Swimming Pool Vacuum Aqua Quip Twister. Aqua Quip Twister 4 pages.
Also for Aqua Quip Twister: Installation Instructions (4 pages)

FULLY READ THIS OWNER'S MANUAL BEFORE
The specific instructions regarding your particular pool cleaner and
connection method may differ from the general installation instructions shown
below. See inside for more details or visit www.solarsunrings.com/twister.
1) Switch off your pool pump and check that your baskets and filter are clean, and that your
pool cleaner hoses are not leaking from splits, cracks or abrasion.
2) If you have an In-Line Leaf Canister fitted to your pool hose, read the appropriate section
inside before cutting hose and installing Twister.
3) If there is no In-Line Leaf Canister, then follow the instructions below.
If pool cleaner hose connects to skimmer box:
Cut your pool hose 2 feet (60 cm) from the skimmer box.
If pool cleaner hose connects to dedicated suction line:
Cut your pool hose 6 inches (15 cm) from the pool wall.
4) Submerge Twister and bleed all air until full of water. Fit Twister between these two cut
sections of hose. Twister must be installed with the correct side facing upwards and the
correct end facing the pool cleaner. Refer to the arrows and markings on the Twister to
ensure correct orientation and refer to Diagram 1. Additional installation photos appear in
this Instruction Manual and on the outside of the box.
5) If your pool hose exits the skimmer box too high, then Twister will sit too high in the water
and may suck air. If adjustments are required to the skimmer box connections to keep your
hose and Twister at the correct height, then contact your local pool professional or Twister
dealer. Hose weights may be required to achieve this.
6) Fit the Angled Adaptor between your pool cleaner and your hose, as per Diagram 2. Place
the pool cleaner back in the pool, fill the hose with water so that all air is removed.
7) With the Twister, hoses, Angled Adaptor and cleaner fitted and free of air, switch on your
pool pump. Twister's internal paddle wheel will spin, now watch your pool cleaner reach
places it never reached before. Your installation is now complete.
Important Information:
1) Twister is only suitable for suction style pool cleaners.
2) Twister will not fix a pool cleaner's performance if the pool cleaner has defective or worn
components, or if the hoses are kinked, cracked or otherwise need replacing. Also ensure
that the pool cleaner and/or flow control device have been installed correctly. Please refer to
the owners manual that was supplied with your pool cleaner or visit the manufacturer's web
site for installation tips and troubleshooting for your particular model of pool cleaner.
3) Twister is not a fully sealed unit and will suck air if it floats above the pool water level.
In addition to following the pool cleaner manufacturer's recommendations, it may be
necessary to add an additional hose weight in front of Twister to keep it submerged.
Installation &
Owner's Manual
INSTALLING TWISTER.
1
