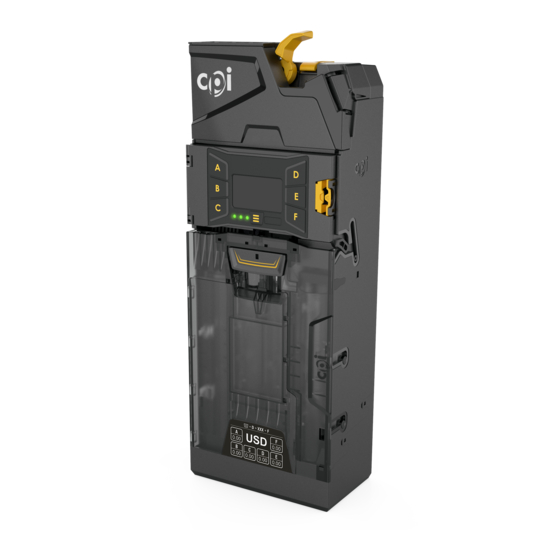
CPI GRYPHON Install Manual
Browse online or download pdf Install Manual for Cash Counters & Coin Sorters CPI GRYPHON. CPI GRYPHON 4 pages. Coin changer
Also for CPI GRYPHON: Technician Manual (5 pages)

Gryphon
Install Guide
TM
Thank you for purchasing a Gryphon Coin Management system. Gryphon
mounts on the standard coin changer channel provided by vending machine
manufacturers.
Features
Gryphon is a reliable, easy-to-use and cost effective coin management system
that increases uptime and reduces cost of ownership.
– Easily customizable coin cassette with six auto-replenishing coin tubes for
maximum flexibility
– LCD display panel with visual controls for quick diagnostics and simple
operation
– MDB Interface for quick installation in the majority of vending machines
Interface
Gryphon operates in machines that support the MDB Interface. MDB allows for
multiple devices to be added to a single connection on the vending machine
control board by linking devices in series to the main MDB harness.
Operating Voltage
Gryphon's operating voltage is listed on the label on the side of the device.
Installation
Before installation, remove Gryphon from its packaging and ensure it arrived safely. Contact customer service at 1-800-345-8215 if it was damaged during shipping.
1. Turn off the power to the vending machine.
2. Push the yellow button on the top right of the coin manager and tilt the acceptor assembly forward to access the mounting holes. You do not have to remove the
cassette.
3. Hang Gryphon on the vending machine's mounting studs, ensuring the unit is level. See Alignment section.
4. The lower mount (3) can be difficult to see through the device. Hanging Gryphon from the top two studs first will help you locate the lower mount.
5. Tighten screws if necessary, being careful not to over-tighten, and close the acceptor assembly. The lower mount is difficult to access with a large screw
driver.
6. Remove the cassette. Lift it by the handle and pull towards you.
7. Fill the cassette with coins, ensuring the coins are inserted into the proper tubes.
8. Return the filled cassette to the Gryphon and ensure it is correctly seated.
9. Connect the MDB Cable.
- If you have a bill acceptor, connect the MDB harness from the Gryphon to the bill acceptor's "Y Connector."
10. Tuck any excess cabling inside the vending machine, ensuring
that the cables do not interfere with the Vending Machine or
Gryphon's operation.
11. Connect the four pin Synq cable to a Synq, or route in a way that
will not impede the vendor's operation.
12. Restore power to the vending machine.
