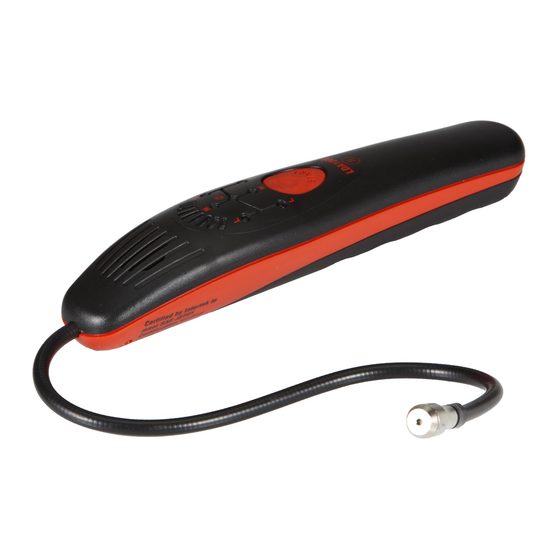
CPS Pro-Set LDA1000H Operation Manual - Page 6
Browse online or download pdf Operation Manual for Measuring Instruments CPS Pro-Set LDA1000H. CPS Pro-Set LDA1000H 12 pages. Refrigerant leak detector
Also for CPS Pro-Set LDA1000H: Operation Manual (12 pages), Operation Manual (14 pages)

OPERATION
The LDA1000H features automatic tuning out of background
contamination and needs only to be turned on to begin leak
searching. All necessary sensitivity and calibration settings
are selected by the unit's advanced control software providing
optimal leak finding performance under any condition.
It is recommended to follow the guidelines stated in SAE J1628
latest release. The basic steps are outlined below.
1. With the system OFF, pressurize it by charging with enough
refrigerant to attain a pressure of at least 350 KPa (50 PSIG).
2. Take care not to plug the sensor housing tip by dragging it
over dirty or wet surfaces. If the area is particularly dirty, or
condensate (moisture) is present, it should be wiped off with
a dry shop towel. Consult the list of substances to which the
LDA1000H may react on page 7. If any of these substances is
present, clean with a dry cloth.
3. Visually trace the entire refrigerant system and look for signs
of air conditioning lubricant leakage, damage, and corrosion
on all lines, hoses, and components. Each questionable area
should be carefully checked with the detector: controls,
service ports with caps in place, brazed or welded areas, and
areas around attachment points and hold-down on lines and
components.
4. Turn on the LDA1000H and allow it to warm up outside the area
to be searched. Based on an estimate of the system's leak rate,
set the LDA1000H to the appropriate refrigerant and sensitivity
setting. The LDA1000H provides sensitivity settings of 14 g / yr
(0.5 oz / yr) , 7 g / yr (0.25 oz / yr) and 4 g / yr (0.15 oz / yr)
corresponding to the L, M and S marked LED's. If the detector
alarms when the area to be searched is approached, ventilate
the area to eliminate any accumulation of regrigerant which
may obscure the smaller leaks.
5. Always follow the refrigerant system around in a continuous
path so that no areas of potential leaks are missed. If a leak is
found, always continue to test the remainder of the system.
6. At each area checked, the probe should be moved around
the location at a rate no more than 3 in / sec. (75mm / sec.),
and no more than 3/8" (9.5mm) from the surface, completely
around the position. Slower and closer movement of the
probe greatly improves the likelihood of finding a leak.
7. An apparent leak shall be verified at least once by blowing
shop air into the area of the suspected leak and repeating
the check of the area. In cases of very large leaks, blowing
out the area with shop air often helps locate the exact position
of the leak. Also, setting the LDA1000H to the next lower
sensitivity range if the indication is very strong on the bar
graph display or to the next higher sensitivity if the indication
is less than 2 bars in the bar-graph display may help pin point
the leak.
Searching For Leaks
6
