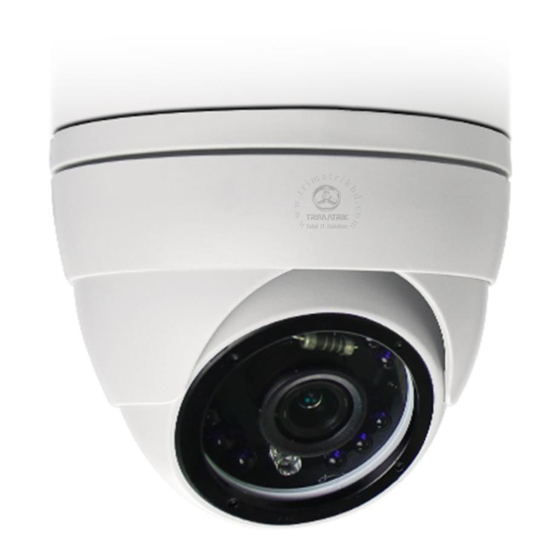
Avtech AVM2200T Installation Manual - Page 2
Browse online or download pdf Installation Manual for Security Camera Avtech AVM2200T. Avtech AVM2200T 4 pages.

TYPE3
Standard package
Installation
Guide
Wrench
Camera
Instructions
Optional
CD manual
3-pin Terminal
block
1
Step1: Find the installation sticker on the sales package, and paste it to where you want to install this camera. Then, drill screw holes as
indicated on the sticker (Figure 1).
Note: The installation sticker could also be downloaded from www.surveillance-download.com/user/542_installation_sticker.pdf.
Step2: Arrange the cables to be connected as shown in Figure 2 depending on the installation location for installation later.
Step3: Remove the dome cover by using the wretch supplied within the sales package, and find the three screw holes on the camera base.
Screws, Wall Plugs,
Rubber Rings (×3)
Step4: Connect the cables.
-
A waterproof kit for Rj45 network cable might be provided in the sales package. Please check the section "WATERPROOF KIT" to
know how to use it.
-
To connect alarm devices, a terminal block might be provided in the sales package. Please connect the terminal block first and
start wiring.
Then, align the screw holes on the camera base with the holes drilled in Step1, and install the camera.
Note: Three rubber rings are provided within the sales package. They should be used with the screws during installation for waterproof purposes.
Waterproof kit
Step5: Adjust the viewing angle of the camera.
To adjust the angle vertically, remove the black shield as indicated in
mechanism and move the lens. Then, secure the tilt mechanism by fasten the knobs to fix the angle.
Step6: Find the mark as indicated below on both the dome cover and the camera base. Align these two marks to replace the dome cover back
to the camera, as illustrated in
Note: Please wipe the inner part of the dome cover against the lens for clear images.
s
Figure 1
Figure 2
Figure 5
.
Figure 8
Rotate
Figure 6
Figure 3
Figure 6
, and rotate the knobs on both sides to loosen the tile
Mark to align
Figure 8
m3432_3445_2432_2421_2220_quick_V1.3
