Allied Telesis AT-TQ5403e Quick Installation Manual
Browse online or download pdf Quick Installation Manual for Wireless Access Point Allied Telesis AT-TQ5403e. Allied Telesis AT-TQ5403e 2 pages. Outdoor

Quick Installation Guide
AT-TQ5403e
Outdoor Wireless Access Point
Installation and User's Guides
This document contains an abbreviated version of the installation instructions for the
AT-TQ5403e Wireless Access Point. For complete installation instructions, see the
AT-TQ5403e Installation Guide on the Allied Telesis web site at
www.alliedtelesis.com/support.
Safety and Electromagnetic Emissions Certificates
For Safety and Electromagnetic Emissions certificates, see the AT-TQ5403e Installation
Guide.
Installation Options
This quick installation guide explains how to install the device on a wall or pole.
Note
The non-US model of this product has a country code setting that must be set during
the initial management session of the unit. The setting ensures that the unit operates
in compliance with the laws and regulations of your country or region.
The country code for the US model is preset and cannot be changed. Per FCC
regulations, the country code setting for all WiFi products marketed in the US must be
fixed to US operational channels only.
Physical Description
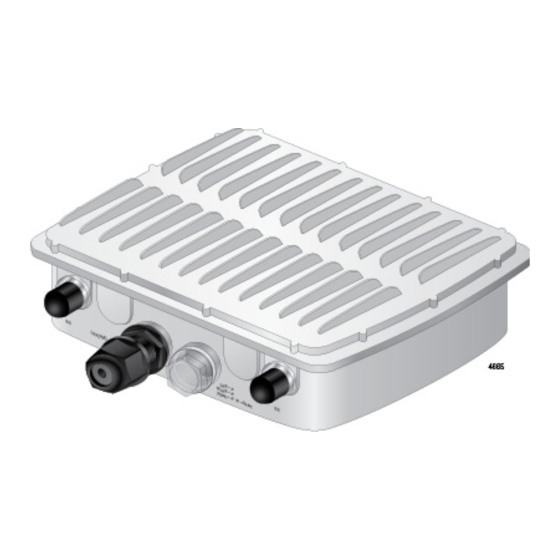
For a physical description of the AT-TQ5403e Outdoor Wireless Access Point, see the
AT-TQ5403e Installation Guide.
Package Contents of the AT-TQ5403e Wireless Access Point
The following items should be in the shipping containers:
One AT-TQ5403e Wireless Access Point
This AT-TQ5403e Quick Installation Guide
Four 5GHz antennas
Two 2.4GHz antennas
One mounting base
Four sets of a screw, washer, and spring washer for the mounting base
One pole-mount bracket
Four sets of a hex-head bolt, washer, and spring washer for the pole-mount bracket
Two U-bolds
Four nuts for the U-bolds
Two pole straps
One ground cable
One set of a screw, washer, and spring washer for the ground cable
Six external surge protectors
If any item is missing or damaged, contact your Allied Telesis sales representative for
assistance. Retain the original shipping material in case you need to return the unit to
Allied Telesis.
*613-002700 Rev A*
613-002700 Rev. A
Attaching the Ground Cable to the Access Point
You must attach the ground cable before installing the device on a wall or pole.
1.
Align the ground cable hole on the access point with the ring terminal of the ground
cable.
You can select one of two ground cable holes on the access point.
2.
Drive the screw through the holes to attach the ground cable to the access point.
3.
Cut off the extra length of the ground cable to make it connected straight to the
ground point.
4.
Attach the other terminal of the ground cable to a circuit breaker, ground rod, or earth
ground.
Connecting the Access Point with the Ethernet Cable
To connect the access point with the Ethernet cable, perform the following procedure:
1.
Unscrew the sealing nut at the LAN port on the access point and remove the
clamping claw and sealing insert.
2.
Remove the rubber nail from the sealing insert.
3.
Pass the LAN cable through the sealing nut, and attach the sealing insert and
clamping claw to the cable.
4.
Connect the RJ-45 plug into the LAN port and screw the sealing nut to the access
point.
5.
Connect the other RJ-45 plug to the PoE switch.
1
Attaching the Antennas to the Access Point
To attach the antennas to the access point, perform the following procedure:
1.
Attach a surge protector to an antenna connector.
2.
Screw an antenna into the surge protector that you just attached to the access point.
Note
You must install 5GHz antennas to 5GHz antenna connectors and 2.4GHz antennas
to 2.4GHz antenna connectors.
3.
Repeat Step 1 and Step 2 for the rest of the antennas.
2
3
