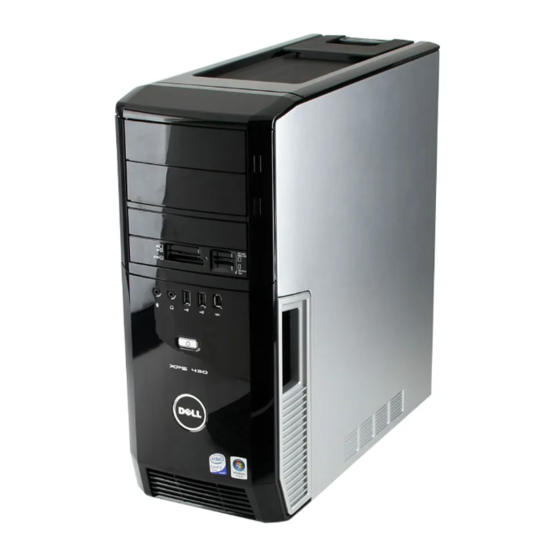
Dell XPS 430 Service Manual - Page 23
Browse online or download pdf Service Manual for Desktop Dell XPS 430. Dell XPS 430 42 pages. Dell xps computer setup
Also for Dell XPS 430: Setting Up (2 pages)

4. Remove the processor airflow shroud (see
5. Remove the processor fan assembly
Fan).
6. Disconnect the control-panel cable from the I/O panel connector by pulling the cable loop.
7. Disconnect the power panel cable, 1394 cable, and audio cable (if it exists) so that the entire front I/O panel is free from all cables.
1
Front I/O panel
8. Remove the two screws that hold the I/O panel assembly to the front of the chassis.
9. Gently ease out the lower end of the I/O panel assembly first from its groove on the chassis followed by the upper end.
10. To replace the front I/O panel, align the screw holes on the I/O panel with the screw holes on the chassis, and replace the two screws.
11. Reconnect the cable that attaches the power button to the I/O panel.
12. Reconnect the 1394 cable, and audio cable (if it exists and you had removed it).
13. Reconnect the control-panel cable to the I/O panel connector.
14. Replace the front bezel:
a. Align the six tabs with the corresponding slots on the front panel and snap it back into place.
b. Replace the two screws that secure the bezel to the bottom of the chassis.
c. Replace the drive panel (see
15. Replace the processor airflow shroud (see
Processor Fan Cage
and
Replacing the Processor
16. Connect the card fan assembly (see
17. Replace the computer cover (see
Back to Contents Page
Replacing the Processor Airflow Shroud
(seeReplacing the Processor Fan Cage
2
mounting screws (2)
Replacing the Drive
Panel).
Replacing the Processor Airflow Shroud
Fan).
Replacing the Card
Fan)to the system board.
Replacing the Computer
Cover).
Assembly).
and
Replacing the Processor
Fan) and the card fan
Assembly) and the processor fan assembly (see
(seeReplacing the Card
Replacing the
