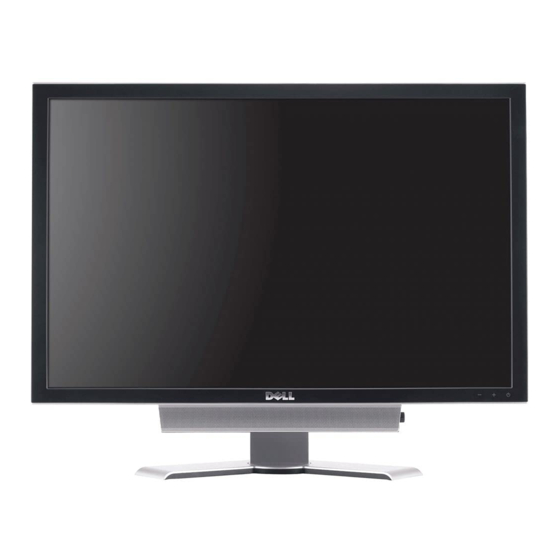
Dell 3007WFP - UltraSharp - 30" LCD Monitor User Manual - Page 24
Browse online or download pdf User Manual for Monitor Dell 3007WFP - UltraSharp - 30" LCD Monitor. Dell 3007WFP - UltraSharp - 30" LCD Monitor 26 pages. User guide
Also for Dell 3007WFP - UltraSharp - 30" LCD Monitor: Manual (24 pages)

available.
Unable to view Brightness OSD
while adjusting brightness of the
monitor
Cannot adjust the monitor with
the buttons on the front panel
USB Problems
SPECIFIC SYMPTOMS
USB port is not working
High Speed USB 2.0 interface is
slow.
Troubleshooting Your Soundbar
COMMON
WHAT YOU EXPERIENCE
SYMPTOMS
No Sound
No power to Soundbar - the
power indicator is off.
(built-in DC power supply. i.e.
3007WFP-HC )
No Sound
Soundbar has power - power
indicator is on.
Distorted Sound
Computer's sound card is used
as the audio source.
Distorted Sound
Other audio source is used.
Unbalanced Sound
Sound from only one side of
Output
Soundbar
Low Volume
Volume is too low.
Back to Contents Page
Monitor brightness changes
however no OSD appears
No change in monitor
brightness settings
WHAT YOU EXPERIENCE
USB peripherals are not working
High Speed USB 2.0 peripherals working slowly or not
at all.
Turn the Power/Volume knob on the Soundbar clockwise to the middle position; check if the
l
power indicator (green LED) on the front of the Soundbar is illuminated.
Confirm that the power cable from the Soundbar is plugged into the monitor.
l
Confirm that the monitor has power.
l
Plug the audio line-in cable into the computer's audio out jack.
l
Set all Windows volume controls to their maximum.
l
Play some audio content on the computer (i.e. audio CD, or MP3).
l
Turn the Power/Volume knob on the Soundbar clockwise to a higher volume setting.
l
Clean and reseat the audio line-in plug.
l
Test the Soundbar using another audio source (i.e. portable CD player).
l
Clear any obstructions between the Soundbar and the user.
l
Confirm that the audio line-in plug is completely inserted into the jack of the sound card.
l
Set all Windows volume controls to their midpoints.
l
Decrease the volume of the audio application.
l
Turn the Power/Volume knob on the Soundbar counter-clockwise to a lower volume setting.
l
Clean and reseat the audio line-in plug.
l
Troubleshoot the computer's sound card.
l
Test the Soundbar using another audio source (i.e. portable CD player).
l
Clear any obstructions between the Soundbar and the user.
l
Confirm that the audio line-in plug is completely inserted into the jack of the audio source.
l
Decrease the volume of the audio source.
l
Turn the Power/Volume knob on the Soundbar counter-clockwise to a lower volume setting.
l
Clean and reseat the audio line-in plug.
l
Clear any obstructions between the Soundbar and the user.
l
Confirm that the audio line-in plug is completely inserted into the jack of the sound card or
l
audio source.
Set all Windows audio balance controls (L-R) to their midpoints.
l
Clean and reseat the audio line-in plug.
l
Troubleshoot the computer's sound card.
l
Test the Soundbar using another audio source (i.e. portable CD player).
l
Clear any obstructions between the Soundbar and the user.
l
Turn the Power/Volume knob on the Soundbar clockwise to the maximum volume setting.
l
Set all Windows volume controls to their maximum.
l
Increase the volume of the audio application.
l
Test the Soundbar using another audio source (i.e. portable CD player).
l
If you are using a Microsoft® Windows® operation system, install application tool
l
provided in the CD. See installing the Utility Tool (Microsoft® Windows® Operation
System) for more information.
Turn the monitor off and unplug the power cord. Then plug the power cord back
l
and turn the power on.
POSSIBLE SOLUTIONS
Check that your monitor is powered ON.
l
Reconnect the upstream cable to your computer.
l
Reconnect the USB peripherals to downstream
l
connector.
Turn off and then turn on the monitor again.
l
Check that your computer is USB 2.0 compatible.
l
Verify USB 2.0 source on your computer.
l
Reconnect the upstream cable to your computer.
l
Reconnect the USB peripherals to downstream
l
connector.
POSSIBLE SOLUTIONS
