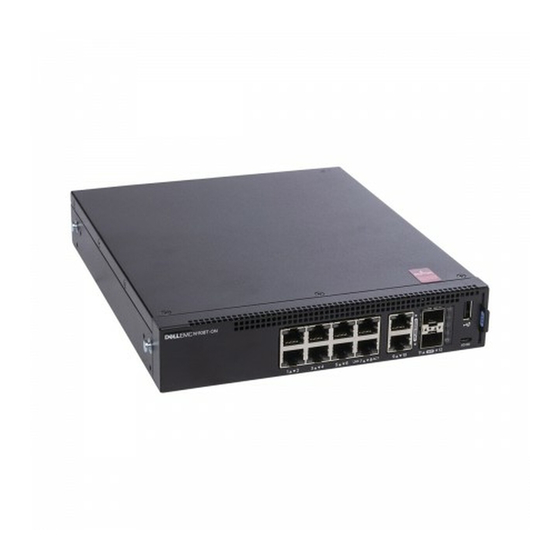
Dell N1108T-ON Getting Started Manual - Page 9
Browse online or download pdf Getting Started Manual for Switch Dell N1108T-ON. Dell N1108T-ON 27 pages.

- 1. Getting Started Guide
- 2. N1100-On Series Hardware Overview
- 3. N1124T-On/N1124P-On/N1148T-On/ N1148P-On Installation
- 4. Starting and Configuring the N1100-On Series Switch
- 5. Connecting an N1100-On Series Switch to a Terminal
- 6. Performing the N1100-On Series Initial Configuration
- 7. Enabling Remote Management
- 8. Initial Configuration Procedure
N1124T-ON/N1124P-ON/N1148T-ON/
N1148P-ON Installation
Rack Mounting an N1124T-ON/N1124P-ON/
N1148T-ON/ N1148P-ON Switch
WARNING:
as well as the safety information for other switches that connect to or support the
switch.
The AC power connector is on the rear panel of the switch.
Installing in a Rack
WARNING:
table or desk, or attach it to a wall.
CAUTION:
Disconnect all cables from the switch before continuing. Remove all
self-adhesive pads from the underside of the switch, if they have been attached.
CAUTION:
When mounting multiple switches into a rack, mount the switches
from the bottom up.
1 Place the supplied rack-mounting bracket on one side of the switch,
ensuring that the mounting holes on the switch line up to the mounting
holes in the rack-mounting bracket. Figure 1-3 illustrates where to mount
the brackets.
Figure 1-3. Attaching the Brackets
Read the safety information in the
Do not use rack mounting kits to suspend the switch from under a
Safety and Regulatory Information
Getting Started Guide
9
