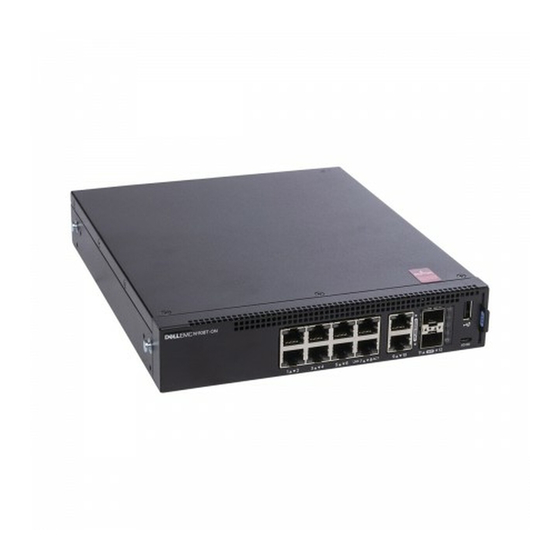
Dell N1124P-ON Getting Started Manual - Page 15
Browse online or download pdf Getting Started Manual for Switch Dell N1124P-ON. Dell N1124P-ON 27 pages.

- 1. Getting Started Guide
- 2. N1100-On Series Hardware Overview
- 3. N1124T-On/N1124P-On/N1148T-On/ N1148P-On Installation
- 4. Starting and Configuring the N1100-On Series Switch
- 5. Connecting an N1100-On Series Switch to a Terminal
- 6. Performing the N1100-On Series Initial Configuration
- 7. Enabling Remote Management
- 8. Initial Configuration Procedure
NOTE:
port via the local CLI. Only one USB console session at a time is supported.
Connecting an N1100-ON Series Switch to a
Power Source
CAUTION:
Read the safety information in the
manual as well as the safety information for other switches that connect to or
support the switch.
The N1100-ON Series models have one internal power supply. The power
receptacle is on the rear panel.
AC and DC Power Connection
1 Make sure that the switch console port is connected to a PC running a
VT100 terminal emulator via the USB to USB Type B cable.
2 Using a 5-foot (1.5 m) standard power cable with safety ground connected,
connect the power cable to the AC main receptacle located on the rear
panel.
The PoE model switches have a heavy-duty power cable with a notched
connector for the switch power receptacle. Use of this type of cable is
mandatory for PoE-capable switches.
3 Connect the power cable to a grounded AC outlet.
Console access to the stack manager is available from any console
Safety and Regulatory Information
Getting Started Guide
15
