Allied Telesis AT-AR023 SYN Quick Install Manual - Page 7
Browse online or download pdf Quick Install Manual for Network Card Allied Telesis AT-AR023 SYN. Allied Telesis AT-AR023 SYN 10 pages. Port interface card
Also for Allied Telesis AT-AR023 SYN: Installation Manual (13 pages), Installation Manual (13 pages), Datasheet (1 pages), Installation And Safety Manual (8 pages)

Quick Install Guide
C613-04020-01 REV H
Hot Swap Installation Method:
The following PICs can be hot swapped if they are to be installed or removed
from an AR040 NSM, and the AR040 is installed in a switch or router running
Software Release 2.3.1 or later:
•
AT-AR021 (S) BRI- S/T
•
AT-AR021 (U) BRI-U
•
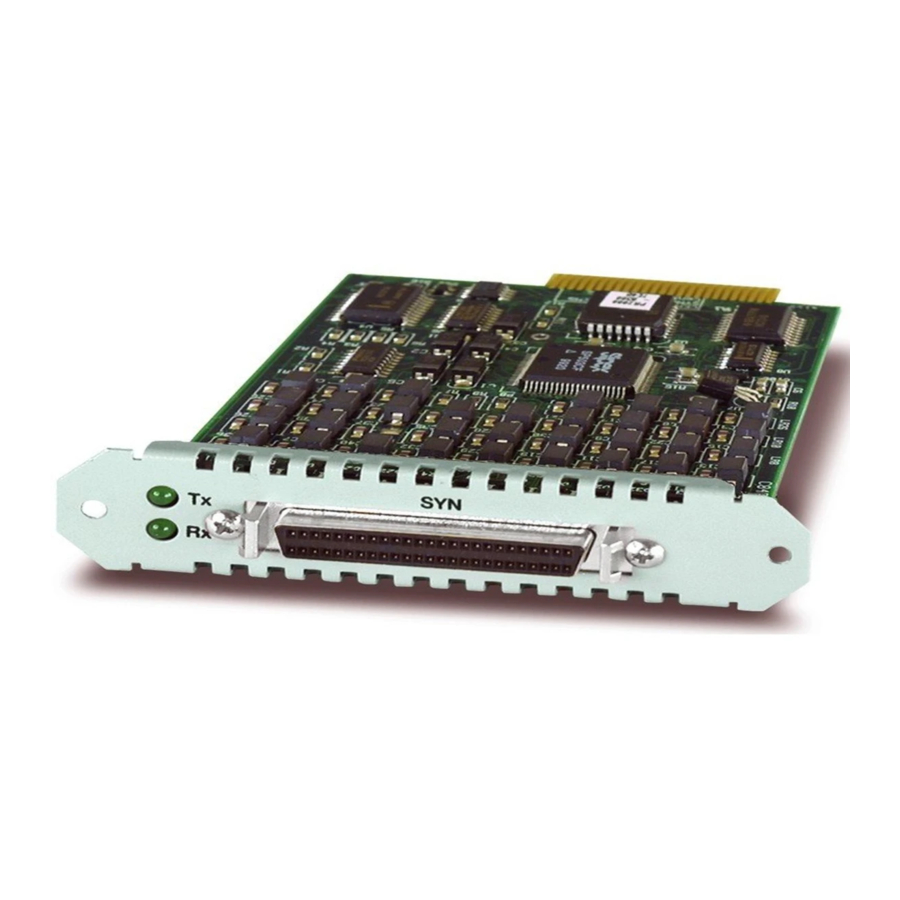
AT-AR023 SYN
WARNING: Failure to follow this procedure when hot swapping a PIC will
cause the router to crash, and may damage files stored in FLASH.
1.
Gather the tools and equipment you will need
A medium-sized flat-bladed screwdriver may be useful when loosening
PIC thumbscrews.
You should also have any cables required for connecting the PIC to a wide
area network or other network devices.
2.
Prepare the PIC bay for hot swap
If the In Use LED (next to the NSM bay) is lit, use a pencil tip or similar
object to press the recessed Hot Swap button. The In Use LED should go
out and the Swap LED should light.
If the In Use LED remains lit or if neither the In Use or Swap LED are lit,
the software release does not support hot swapping, and the Standard
Installation Method must be used to install or remove the PIC.
Do not attempt to hot swap while the contents of FLASH are being modified;
for instance, during FLASH compaction or when files are being loaded onto the
switch or router. If the switch or router crashes while FLASH is being modified,
configuration files, software release files, feature licences and other files may be
damaged.
3.
Remove the PIC-bay face-plate, NSM PIC-bay face-plate, or existing PIC
Loosen the thumbscrews to remove the face-plate or PIC.
Keep the face-plate for future use. If you remove the PIC, replace the face-plate to prevent
dust and debris from entering the switch or router and to maintain proper airflow.
4.
Unpack the PIC
In an antistatic environment, remove the PIC from its packing material. Be
sure to observe ESD precautions.
Do not attempt to install a PIC or any other expansion option without
observing correct antistatic procedures. Failure to do so may damage the switch
or router, PIC, or expansion option. If you are unsure what the correct
procedures are, contact your authorised Allied Telesyn distributor or reseller.
7
