Dell PowerConnect W-AP134 Installation Manual - Page 6
Browse online or download pdf Installation Manual for Switch Dell PowerConnect W-AP134. Dell PowerConnect W-AP134 17 pages. Networking access points
Also for Dell PowerConnect W-AP134: Manual (10 pages), Installation Manual (17 pages), Installation Manual (2 pages), Specifications (4 pages)
Microwave ovens
Wireless phones and headsets
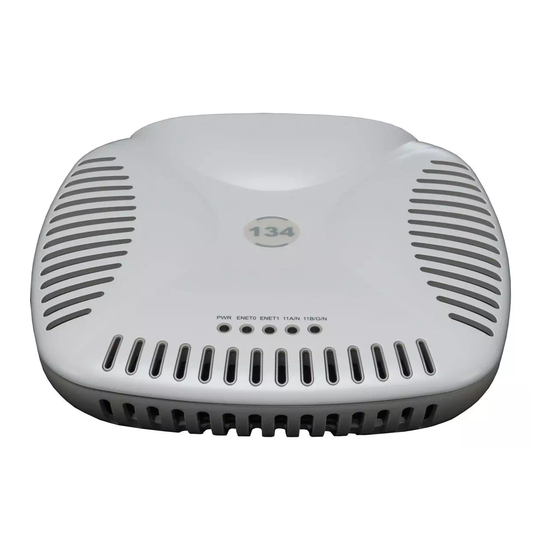
Installing the AP
NOTE: Service to all Dell products should be performed by trained service personnel only.
Using the Ceiling Rail Adapter
The AP130 series ships with two ceiling rail adapters for 9/16" and 15/16" ceiling rails.
CAUTION: Make sure the AP fits securely on the ceiling tile rail when hanging the device from the ceiling, because poor
installation could cause it to fall onto people or equipment.
1. Pull the necessary cables through a prepared hole in the ceiling tile near where the AP will be placed.
2. Place the adapter against the back of the AP with the adapter at an angle of approximately 30 degrees to the
tabs (see
3. Twist the adapter clockwise until it snaps into place in the tabs (see
Figure 3
4. If necessary, connect the console cable to the console port on the back of the AP.
5. Hold the AP next to the ceiling tile rail with the ceiling tile rail mounting slots at approximately a 30-degree
angle to the ceiling tile rail (see
6. Pushing toward the ceiling tile, rotate the AP clockwise until the device clicks into place on the ceiling tile rail.
6
Figure
3).
Attaching the Ceiling Rail Adapter
Figure
4). Make sure that any cable slack is above the ceiling tile.
Dell PowerConnect W-AP130 Series Access Point | Installation Guide
Figure
3).