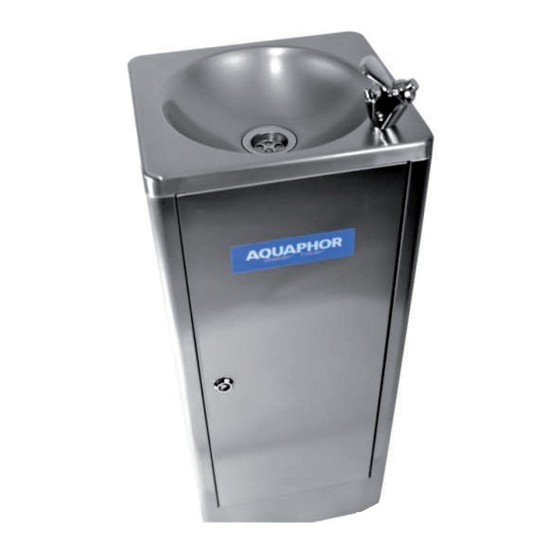
AQUAPHOR CRYSTAL EKO-80-2 User Manual - Page 5
Browse online or download pdf User Manual for Outdoor Fountain AQUAPHOR CRYSTAL EKO-80-2. AQUAPHOR CRYSTAL EKO-80-2 12 pages. Drinking water fountain

-
Position the dispenser in such a way that it is protected from direct sunlight. Make sure
there are no heating devices around. The distance between the water fountain and any
household appliance should not be less than 20 cm. The water fountain must be protected
against freezing.
-
Choose a suitable location for the water connection (2) to the water mains (see Fig. 1 -
Installation diagram). Make sure that the connection hoses pass freely, and are not bent.
Loose hoses must be secured so that they cannot be pulled out.
Water connection fittings and installation
Fig. 2
A - tap in open position
B - water supply
- close the connection (the handle should be in the "tap turned" position) then make sure
that all connections are tight (no leaks);
- remove the clip (4) from the plastic sleeve of the ball valve (2);
- insert the water-soaked hose (26) into the ball valve sleeve (2), pressing it all the way
down about 15 mm;
- replace the clip (4) under the plastic sleeve of the ball valve on the connection (2);
Faucet/spout installation (Fig. 3)
Please Note: it is recommended to use the clean water faucet/spout
(5) included in the set. The manufacturer is not responsible for the
consequences of using other faucets or taps.
- unscrew the cap nut (12) from the threaded stub of the tap (5);
- place the decorative support (6) on the threaded faucet stub (5), a
large rubber gasket (7), then insert the spout (5) in the opening of the
upper cabinet panel (1);
- place rubber (8), plastic (9), and metal (10) washers on the threaded
tap, located under the panel, and then screw on the nut (11);
- place the plastic disc on the end of the hose, and then the plastic
sleeve. Tighten the nut (12) on the tap connector (5) as far as it will
go;
- check the tightness of the hose fitting (22). Using a tension force of
8-9 kg, (22) you should not be able to pull the hose out.
- After connecting the water fountain, adjust the pout using the screw
located at its base, then adjust the height of the water jet.
Please note: When connecting water, be careful
not to damage the fittings (2). In the event of any
mechanical damage to the fittings (2) due to
improper installation and use, no claims can be
considered.
- shut off the cold water supply and reduce
pressure in the system;
- check whether the seals on the nut (4) is there;
- connect the cabinet to the water mains. If it is
necessary to seal the thread on the connection,
use Teflon tape;
Fig. 3
