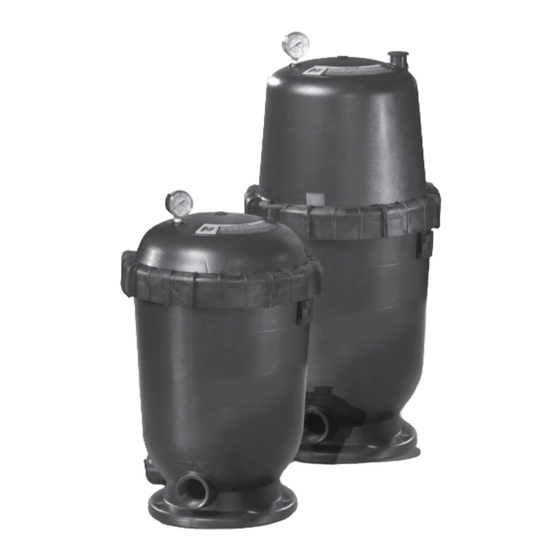
AquaPRO 59724-XXXX Owner's Manual - Page 6
Browse online or download pdf Owner's Manual for Swimming Pool Filter AquaPRO 59724-XXXX. AquaPRO 59724-XXXX 12 pages. Cartridge filter for pools & spa

Operating Instructions and Parts List
Installation Procedures
This filter should only be installed
by qualified personnel.
EQUIPMENT INSPECTION
Carefully inspect equipment before
installing. Occasionally, products are
damaged in transit. Any damaged
filter components can cause failure and
should be replaced immediately.
EQUIPMENT LOCATION
• Mount the filter on a level concrete
slab. The base of this filter has
four mounting holes to provide
for secure anchoring to the slab,
(mounting screws are not included).
• Provide a minimum of 6 inches of
clearance around the filter from
walls or structure to permit visual
inspection of the unit.
• Provide sufficient clearance above
the filter to remove the filter top
assembly for servicing and cleaning.
The amount of clearance varies by
model. Refer to Table 2 on page 4
for the required clearance.
• Install electrical controls at least 5
feet from the filter.
• Locate equipment out of direct
sunlight to prolong the life of the
equipment.
• Position the filter so that piping
connections, control valves, drain
and safety latch are accessible
for servicing and winterizing. If
necessary, the safety latch can be
moved to the opposite side of filter
tank to provide easier access (See
Figure 4).
Do not operate the
filter without the
safety latch in place. Doing so could
result in the locking ring loosening from
the filter tank, causing system failure.
Figure 4 - Safety Latch installation
PLUMBING
ensure filter and all
piping can be
drained for winterizing.
Over-tightening
fittings can crack
filter ports.
Do not use pipe
thread compounds
to seal connections. They will damage
the housing material, causing the
connection to crack and leak. Only use
thread sealant tape, (or equivalent
sealant that is designed for plastics) on
threaded connections to filter ports.
• Piping must conform to local/state
plumbing and building codes.
• Support pipe independently to
prevent strains on the filter.
• For ease of maintenance, install
union couplings near inlet and
outlet ports.
• Valves installed near both inlet and
outlet of filter will isolate the filter
and ease servicing.
• Install heater downstream of filter.
Install check valve between filter
and heater to prevent hot water
from backing up into filter if heater
does not incorporate one. Damage
to filter modules caused by excessive
heat will void the warranty.
• A check valve installed before the
filter inlet will prevent contaminants
from draining back into the pool.
• A valve and piping installed on the
drain port will help divert water
away from the equipment area
when servicing the filter.
6
• If system is equipped with an inline
chlorinator or chlorine generating
system, install the filter upstream
of these items. Install a check
valve between the filter and the
chlorinator to prevent highly
chlorinated water from entering the
filter.
ELECTRICAL
Ensure filter grounding and bonding
meets local and national codes.
ASSEMBLY
This filter is pre-assembled at the
factory. The only assembly required at
installation is the installation of the
pressure gauge and placement of the
safety latch.
Pressure Gauge
Use thread sealant tape to seal the
threads of the gauge. Install the
pressure gauge in the 1/4 inch NPT
port in the top of the filter (marked
"Pressure Gauge").
The pressure gauge
is the primary
indicator of filter performance. maintain
the pressure gauge in good working
order. If the gauge is damaged, replace
it immediately.
Safety Latch
If necessary, the safety latch can be
moved to the opposite side of the filter
tank to provide easier access (See
Figure 4).
Air Bleed Tube
When installing the cartridge in the
filter base, ensure the tube is inserted
in the center portion of the cartridge
support, if equipped (See Figure 5). This
will help to ensure the tube is correctly
positioned inside the top support ring of
the filter housing.
NEw POOL/SPA INSTALLATIONS
• Thoroughly clean a new pool before
filling pool and operating filter.
• A typical pool installation requires
approximately one week of
operation to obtain final clarity.
• After initial cleanup, follow the
instructions in the "Cartridge
Cleaning" section of this owner's
manual (Page 8).
