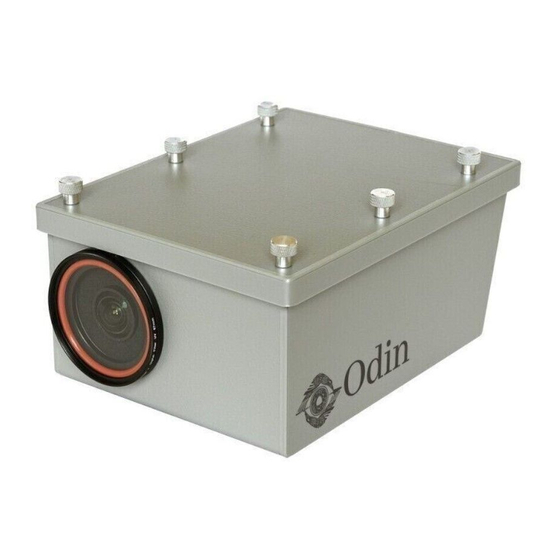
Chronosys Odin Quick Start Manual - Page 3
Browse online or download pdf Quick Start Manual for Digital Camera Chronosys Odin. Chronosys Odin 4 pages.

name will be shown plus the available storage space.
The sequence that MUST be followed to ensure your time-lapse is correctly set is:
IMPORTANT - you must ALWAYS toggle the mode switch to "Run" to start your sequence
running. Failure to do this important step will result in no images being taken.
Chronosys © 2022
9. Once signed into the Odin network, go to your
browser address bar and enter 192.168.99.1 to log into the
Odin management interface. (Please only use Chrome,
Safari, or Edge (Chromium) browsers to ensure
compatibility).
The Odin manager UI (User interface) will appear in your
browser. Please check :
A. You are connected to the camera as indicated by the
green connected symbol.
B. Check that you have your USB storage device
connected as indicated by the green symbol. The drive
10. You may now enter your desired interval, image, and
schedule settings.
IMPORTANT - Remember to hit the " Save settings " button to
save your settings to Odin. Double-check your settings are
correct in the "Current Schedule" section. If you are happy to
proceed, toggle the rear switch to the "Run" position to start
recording.
Enter your settings
Hit the "Save Settings" button
Toggle the rear switch to the "Run" position
⇩
⇩
Page 3 of 4
